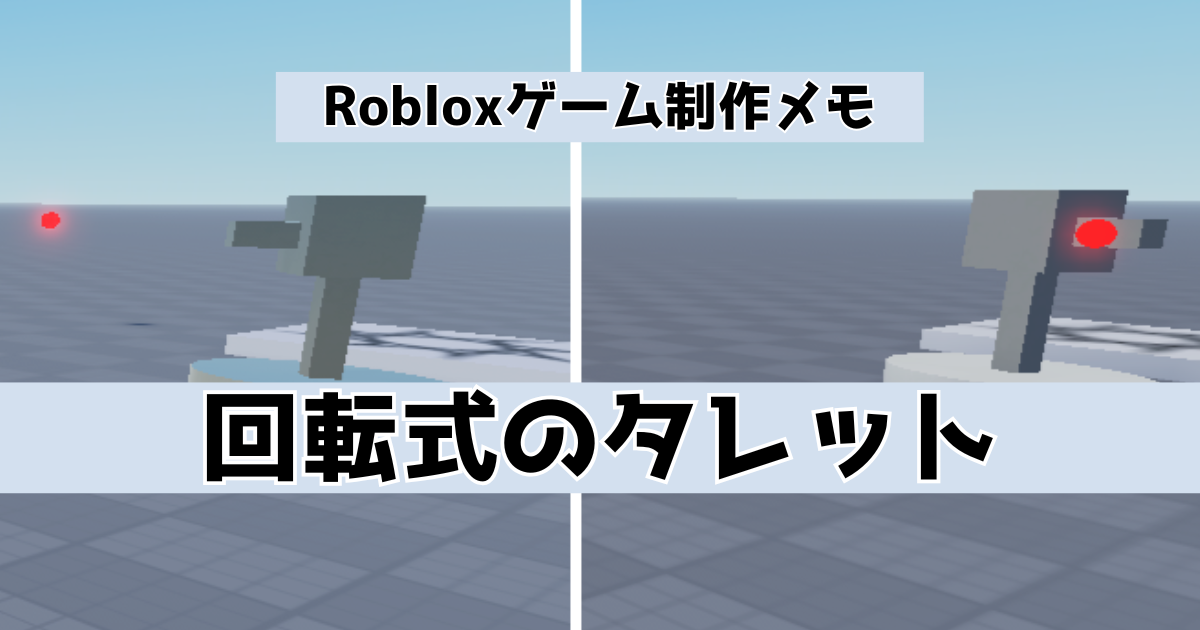
RobloxStudioで回転式のタレットを簡単に作成するメモになります。
はじめに
下記にて弾を自動で発射する固定式のタレットを作成しています。今回は、作成したタレットを修正して回転するようにしていきます。
まずは上記記事で作成した固定式のタレットに「弾に触れるとダメージ」、「弾が一定時間で消滅」を追加して、その後タレットを回転させていきます。
製作開始
下記はタレットの弾にプレイヤーが当たったらダメージを食らうスクリプト部分の抜粋です。
local BulletDamage = 10

coroutine.wrap(function()

	while wait(Rate) do
--
		newBullet.Touched:Connect(function(hit)

			local Humanoid = hit.Parent:FindFirstChild("Humanoid")

			if Humanoid then
				Humanoid:TakeDamage(BulletDamage)
				newBullet:Destroy()
			end
--
		end)
	end

end)()
「Debris」を追加して弾の消滅を追加した最終的なスクリプトが下記になります。
local Debris = game:GetService("Debris")
local ServerStorage = game:GetService("ServerStorage")
local Bullet = ServerStorage:WaitForChild("Bullet")
local Barrel = script.Parent

local Rate = 1
local BulletSpeed = 50
local BulletDamage = 10
local BulletLife = 5

coroutine.wrap(function()

	while wait(Rate) do

		local newBullet = Bullet:Clone()
		newBullet.Parent = game.Workspace
		newBullet.Position = Barrel.Position
		newBullet.LinearVelocity.VectorVelocity = Barrel.CFrame.LookVector * BulletSpeed

		newBullet.Touched:Connect(function(hit)

			local Humanoid = hit.Parent:FindFirstChild("Humanoid")

			if Humanoid then
				Humanoid:TakeDamage(BulletDamage)
				newBullet:Destroy()
			end

		end)
		Debris:AddItem(newBullet, BulletLife)

	end

end)()
実行してプレイヤーが弾に触れたときにダメージが追加されたらOKです。
「Debris」の公式リファレンスは下記です。

タレットを回転させる
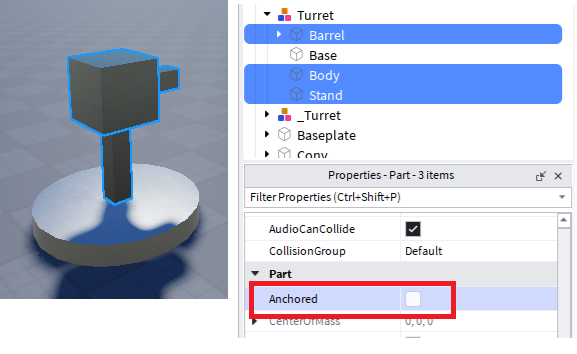
次にタレットを回転させてみます。まずは一番下のパーツ以外のパーツの「Anchored」のチェックを外します。
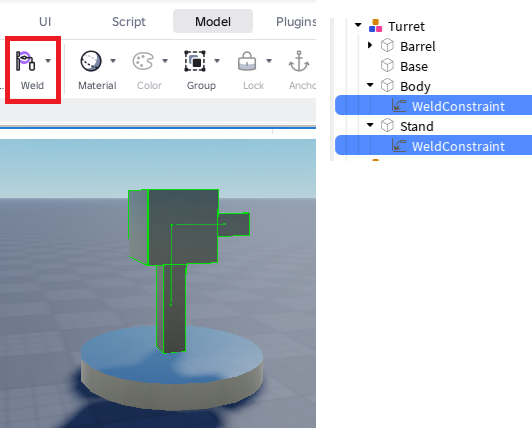
「Weld」を追加してそれぞれのパーツを接続します。
次に、一番下とその上のパーツを「Hinge」で接続します。Attachmentを調整して横に回転するように変更します。

「Hinge」については下記にて詳細に記事にしています。
実行して下記のように回転すればOKです。