RobloxStudioで「プレイヤー」に情報を追加するメモになります。
はじめに
下記で、チュートリアル的にRobloxStudioでゲーム作成を行いました。今回はプレイヤーに情報を追加する方法を簡単に書いていきます。
上記の記事内でプレイヤーのリーダーボードに情報を追加しました(下図)。今回はリーダーボードに表示せず、内部的に情報を保持する2つの方法を書いていきます。

制作開始
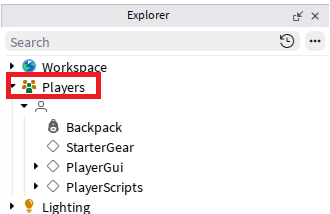
ゲームを実行すると「Players」の中にゲームに参加しているプレイヤーが追加されます。
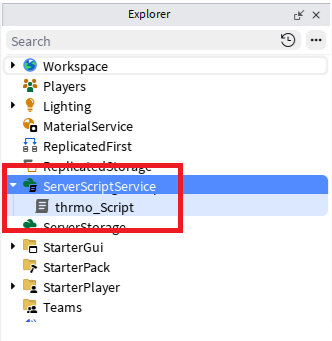
「ServerScriptService」の配下に「Script」を追加します。
スクリプトの中身を下記のように作成します。プレイヤーに体温を追加したイメージです。
local Players = game:GetService("Players")

local function onPlayerAdded(player)

	local thermo = Instance.new("NumberValue")
	thermo.Name = "thermo"
	thermo.Value = 36.5
	thermo.Parent = player
end

Players.PlayerAdded:Connect(onPlayerAdded)
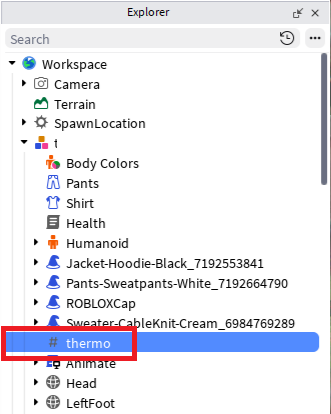
実行したときに下記のように配下に追加されていたらOKです。

「leaderstats」というフォルダを作成してフォルダの配下に移動するとリーダーボードに情報を表示することできます。
データの変更
「Part」を追加します。大きさなどは適当でOK。
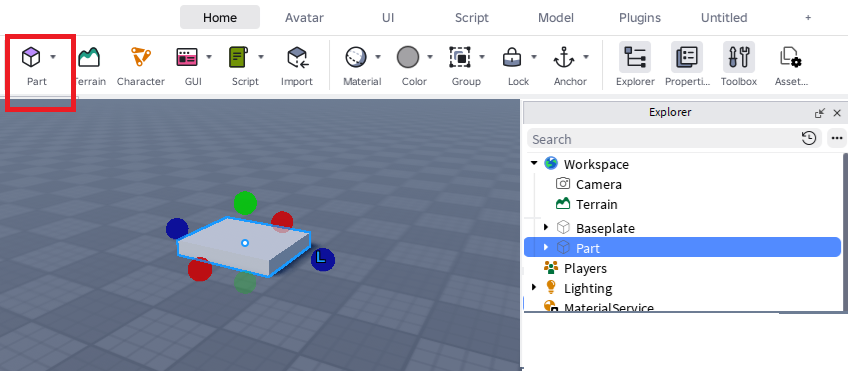
パーツにプレイヤーが触れたら数値(体温)が増えるようにしてみます。スクリプトを下記に変更します。
local Players = game:GetService("Players")
local Workspace = game:GetService("Workspace")

local part = Workspace.Part

local function onPlayerAdded(player)

	local thermo = Instance.new("NumberValue")
	thermo.Name = "thermo"
	thermo.Value = 36.5
	thermo.Parent = player

end

local function onTouched(otherPart)

	local humanoid = otherPart.Parent:FindFirstChild("Humanoid")
	local player = game.Players:GetPlayerFromCharacter(otherPart.Parent)

	if humanoid and player then
		local thermo = player:FindFirstChild("thermo")
		thermo.Value += 0.01
	end
end

Players.PlayerAdded:Connect(onPlayerAdded)
part.Touched:Connect(onTouched)
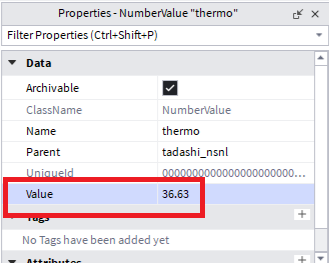
パーツが触れたときに数値が増えたらOKです。
別の方法
ゲーム実行時に「Workspace」配下にもプレイヤーが追加されます。こちらは「Character」となります。
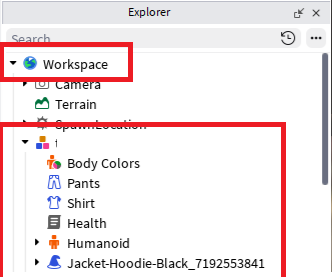
同じように配下に情報を保持する場合のスクリプトは下記のようになります。
local Players = game:GetService("Players")

local function newCharacter(character)
	if not character:FindFirstChild("thermo") then

		local thermo = Instance.new("NumberValue")
		thermo.Name = "thermo"
		thermo.Value = 36.5
		thermo.Parent = character

	end
end

local function onPlayerAdded(player)

	if player.Character then
		task.spawn(newCharacter,player.Character)
	end
	player.CharacterAdded:Connect(newCharacter)

end

Players.PlayerAdded:Connect(onPlayerAdded)
似ていますが生成タイミングや動作が異なるようです。下記が公式リファレンスです。