今回はUnityの2Dゲームで簡単な「メニュー画面」と「シーンの移動」をシンプルな仕組みで実装していきます。
はじめに
Unityのバージョンは2021.3.14f1です。
下記記事で、シーン移動の超基本を書いてますが、追加みたいな感じです。
今回やる事
「シンプルなメニュー画面の作成」と「シーンの移動」を実装していきます。
実装開始
では、実際に作成していきます。
メニュー画面の作成
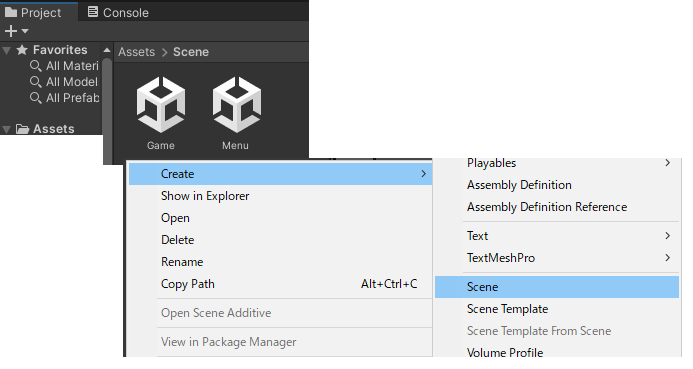
「Create」→「Scene」で新規シーンを2つ作成。名前は「Menu」と「Game」にしておきます。
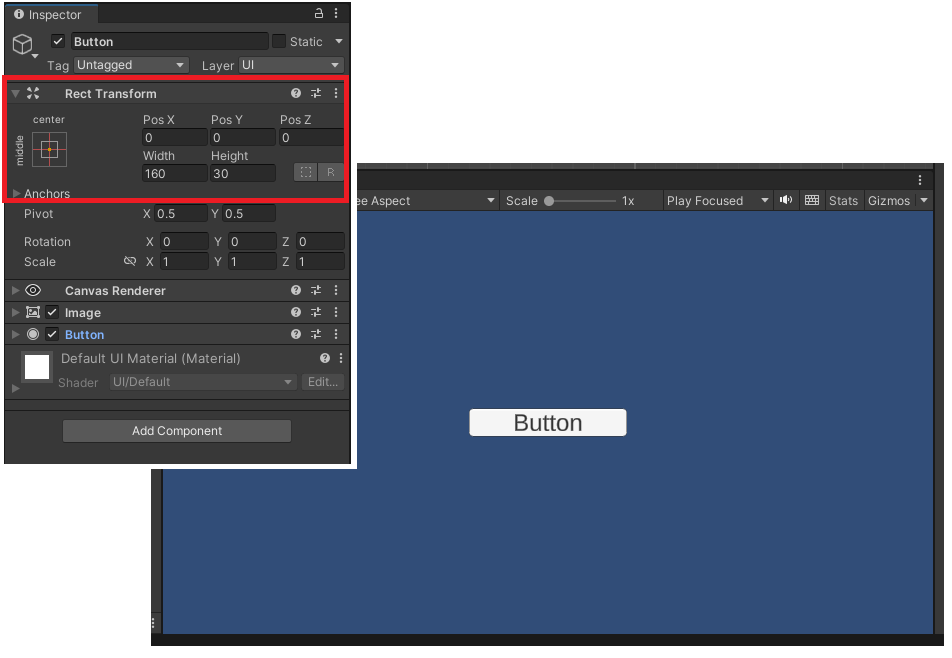
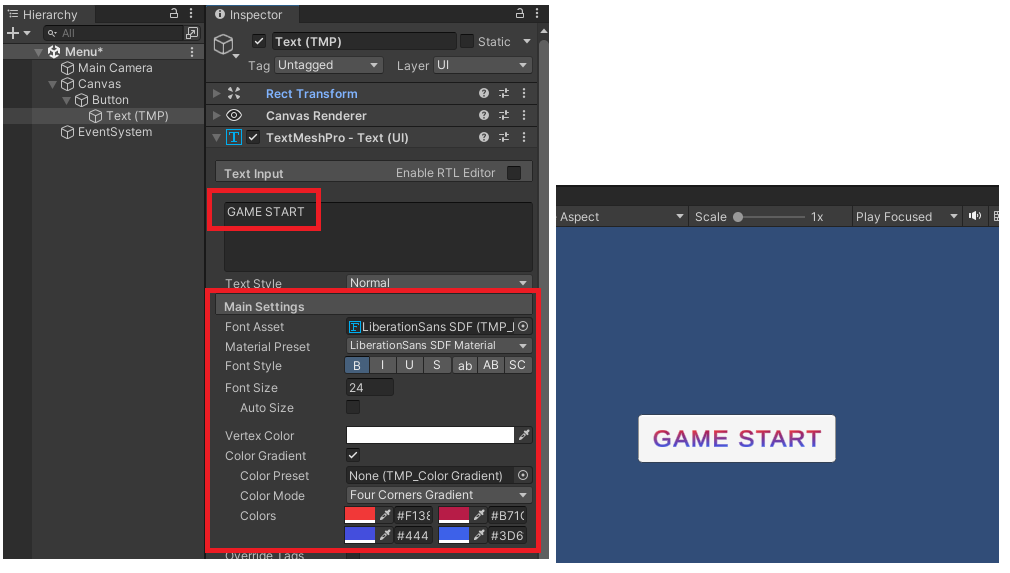
ヒエラルキーメニューで、UIから「Button-TextMeshPro」を追加。TextMeshProはテキストを拡張した感じのものですね。

Buttonを好きな位置に変更します。
ボタンテキストの中身を変更、サイズやグラデーションを変更します。
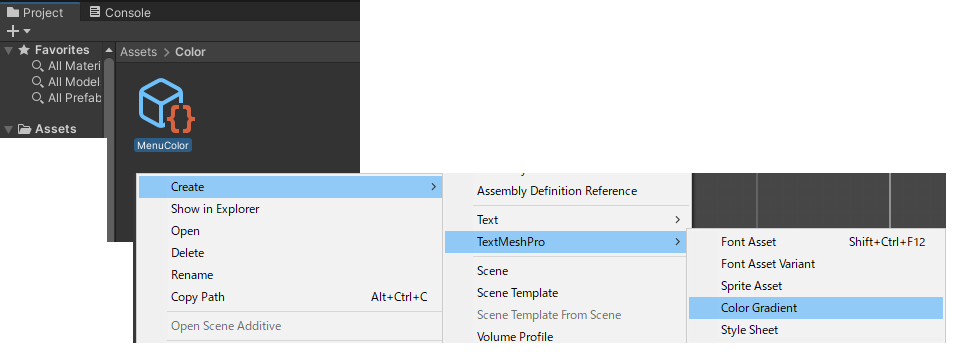
カラーグラデーションの作成
カラーグラデーションはベースを作成しておくと、使いまわしが出来るので便利です。
プロジェクトで右クリック「Create」→「TextMeshPro」→「ColorGradient」を選択。
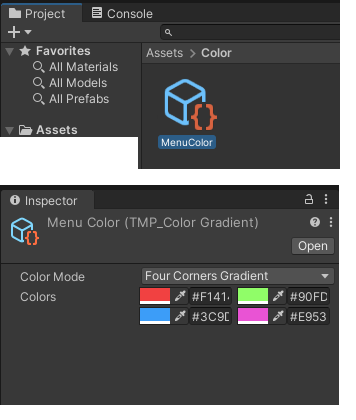
色をInspectorでセットします。
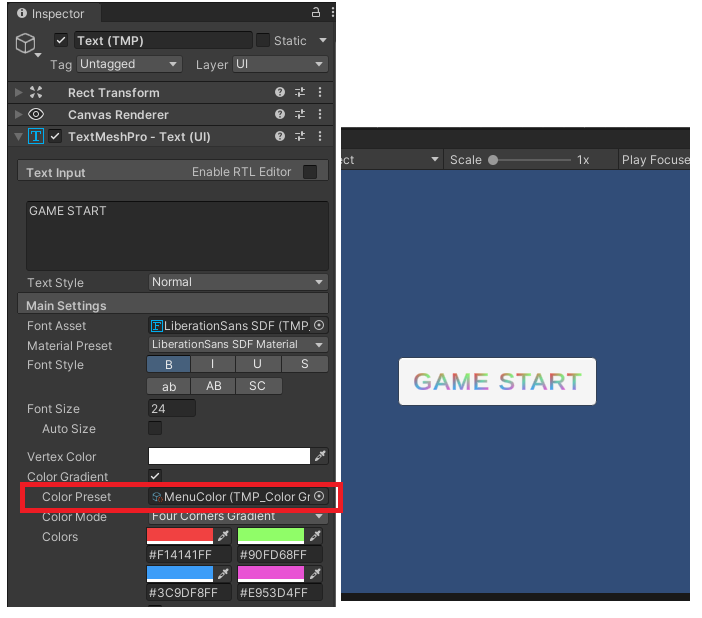
作成したのを「Color Preset」にセットすると反映されます。
終了ボタン
スタートボタンをコピーして「終了ボタン」も作成。位置をずらして、サイズや色を適当に変更しておきます。
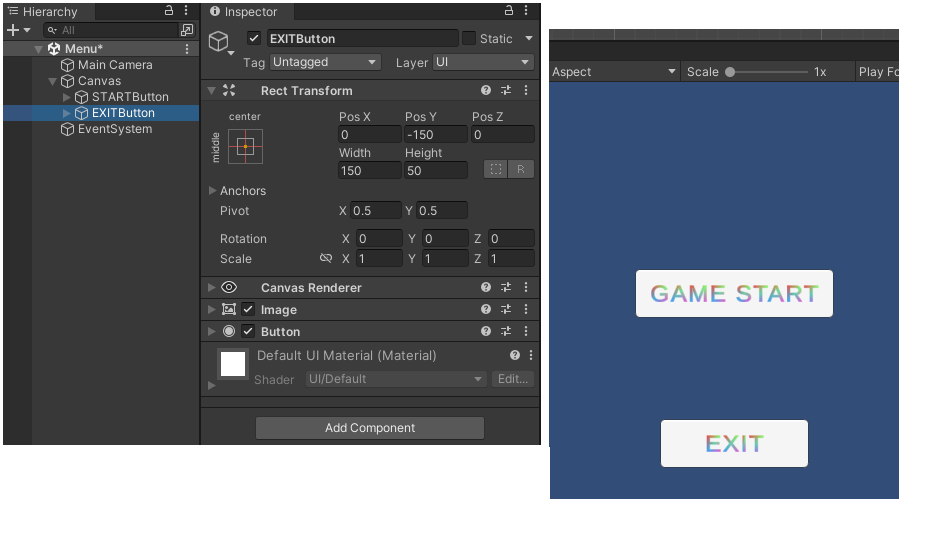
これで超簡単なメニューが完成。実際は設定ボタンとかも必要なのであくまでも最低限ですね。
画面遷移スクリプトを作成
「ゲーム画面へ遷移」、「ゲームを終了」するスクリプトを作成します。
新規スクリプトで「Menu」と言う名前で作成、中身は下記に変更。指定したシーンを呼び出しているだけですね。
using UnityEngine;
using UnityEngine.SceneManagement;

public class Menu : MonoBehaviour
{
    public void StartGame()
    {
        SceneManager.LoadScene("Game");
    }

    public void EndGame()
    {
        Application.Quit();
    }
}
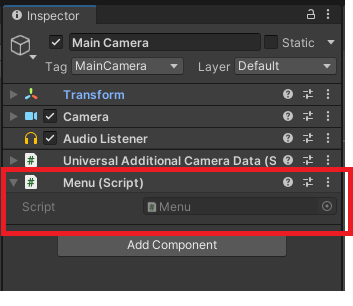
MainCameraにスクリプトをアタッチします。
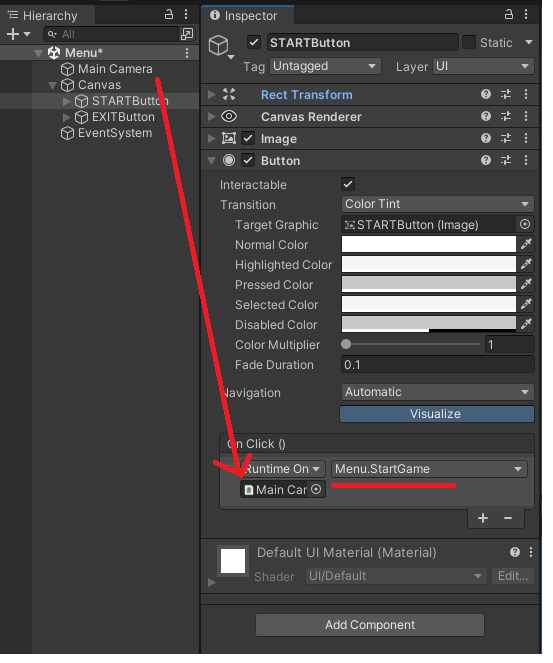
ボタンクリック時の動作にそれぞれのメソッド(関数)を呼ぶように追加。
「File」→「BuildSettings」を選択。
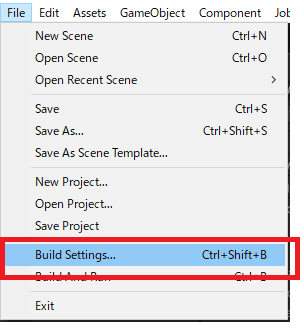
移動先のGameシーンを追加します。
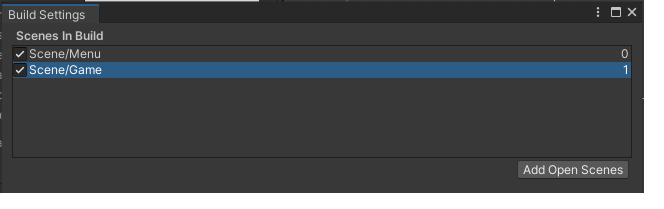
これで実行して、ゲーム画面に移動すればOK。
別の方法
メニューから「ゲームスタート」を選ぶ場合は良いですが、メニューからの行き先が複数ある場合、下記の様にパラメータでセットする方法も(複数ステージなど)。
using UnityEngine;
using UnityEngine.SceneManagement;

public class Menu : MonoBehaviour
{
    public void StartGame(int Sceneindex)
    {
        SceneManager.LoadScene(Sceneindex);
    }
    public void EndGame()
    {
        Application.Quit();
    }
}
パラメータの数字はビルド設定の数字を渡せばOK。
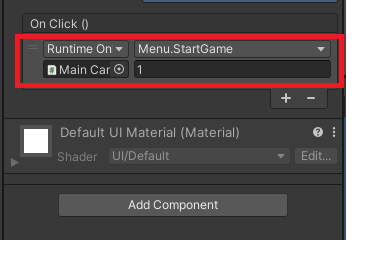
パラメータを文字列(string)にして、シーン名称を渡してもOK。