「簡単なパックマン風のゲーム」をUnityで作成する。第3回目です。
はじめに
Part1は下記になります。
Part1でプレイヤーの移動を作成、Part2ではステージを作成しました。Part3では敵キャラクターを作成していきます。
作成開始
ステージ内を動く敵キャラを作成していきます。基本的な動きはプレイヤーと同じです。
Enemyの作成
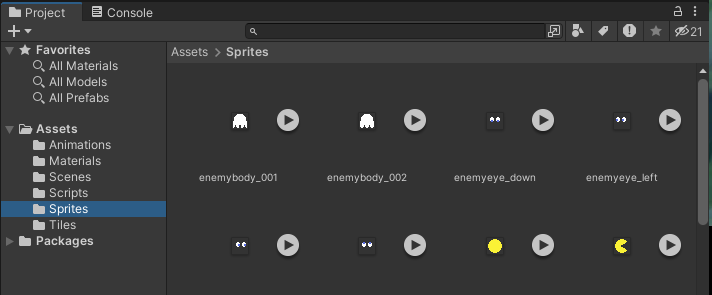
敵キャラは下記の画像を利用していきます。白色で作成してあるので見えにくいです。

画像を6枚(16×16のサイズ)に分割して、Unityに取り込みます。体部分と目の画像を分けてあります。
プレイヤーの時と同じように画像の設定します。

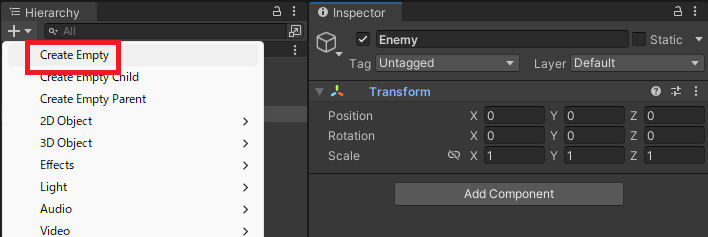
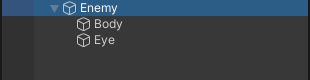
CreateEmptyで空オブジェクトを追加、名前を「Enemy」にします。
Enemyの配下に「Body」と「Eye」の空オブジェクトを作成します。
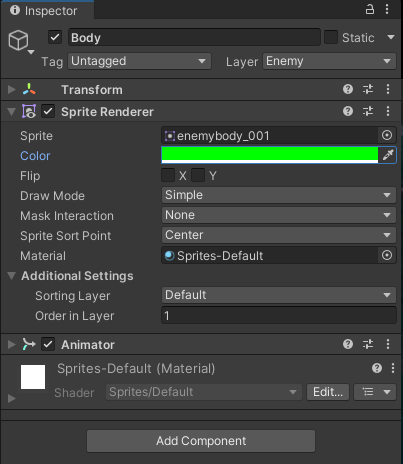
Bodyには「SpriteRendrer」と「Animator」をアタッチします。Colorは好きな色で大丈夫です。「Order in Layer」を変更して手前に表示します。
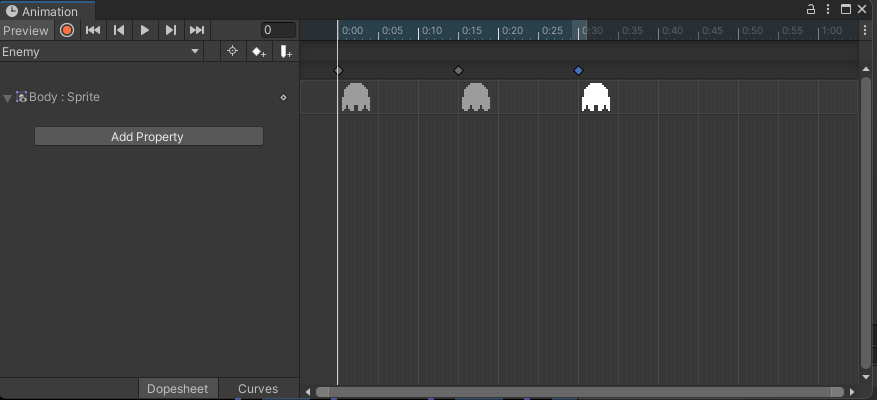
アニメーションの設定
Playerの時と同じようにアニメーションを設定していきます。下記のように画像を指定して、良い感じに動けばOKです。
Eyeは「SpriteRendrer」をアタッチして画像をセット、「Order in Layer」を変更しておきます。

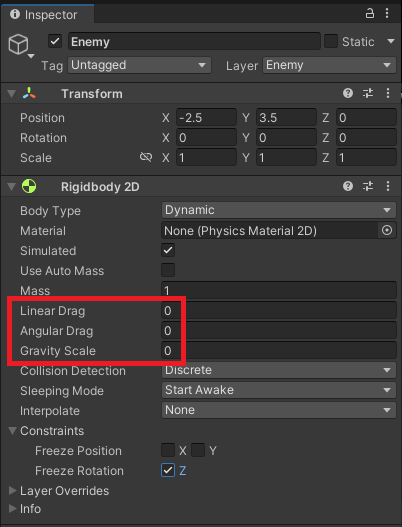
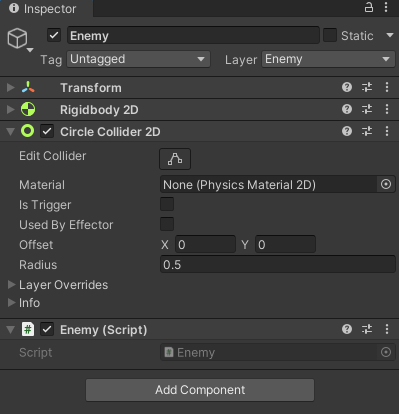
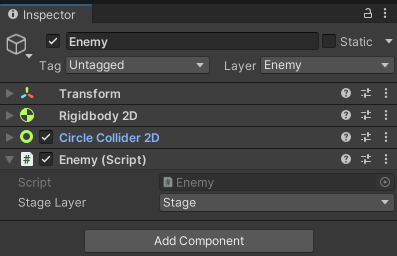
Enemyオブジェクトには「Rigidbody2D」をアタッチして重力の影響を受けないようにします。
次にPlayerと同様に「CirclrCollider2D」とEnemyスクリプトもアタッチしておきます。
ポイントの作成
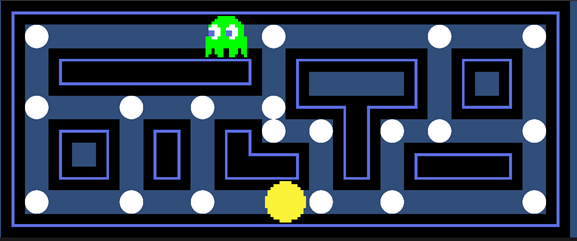
敵キャラの場合、プレイヤーと違い自動で動きます。今回は分岐地点に敵キャラが来たらランダムに移動先を選択するようにします。例えば、下記の左上の赤四角の場所に敵キャラが来たら下か右に移動するという感じです。

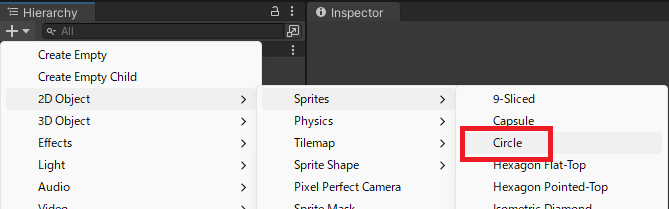
Hierarchyで「2DObject」→「Sprites」→「Circle」を選択します。
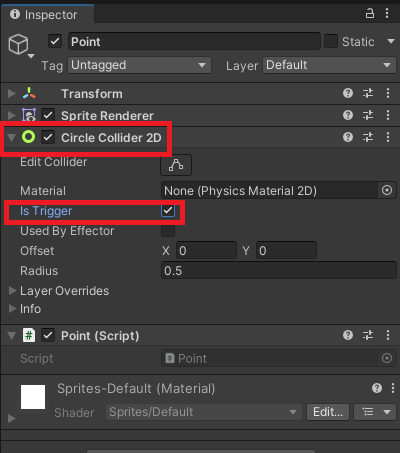
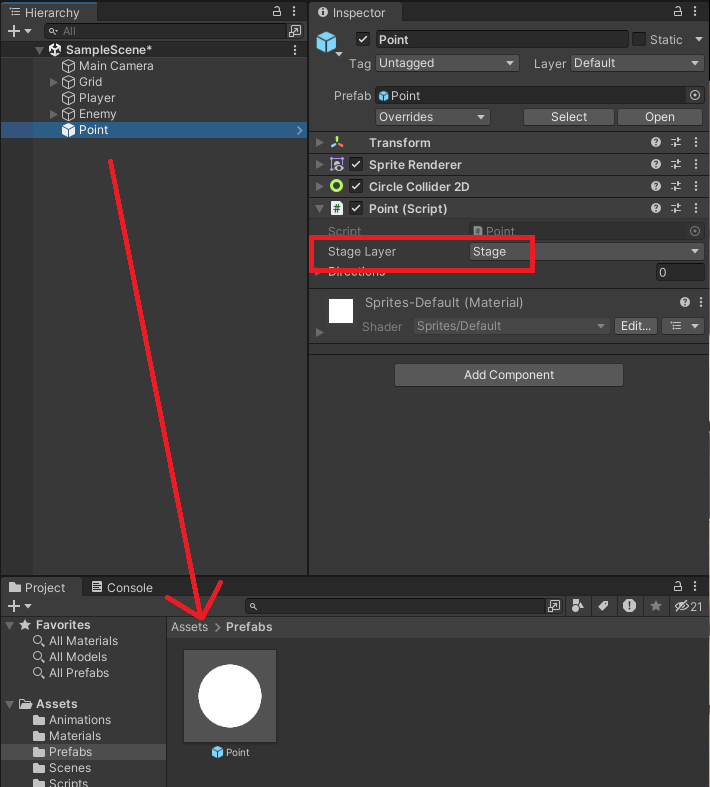
名前をPointに変更して、「CircleCollider2D」をアタッチ、「isTrigger」にチェックを入れ、Pointスクリプトをアタッチします。
Pointスクリプトの中身を下記のようにします。
using System.Collections.Generic;
using UnityEngine;

public class Point : MonoBehaviour
{
    public List<Vector2> Directions;
}
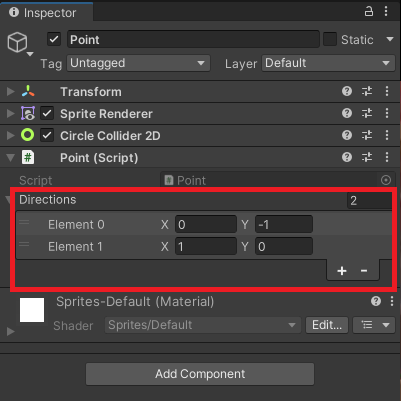
例えば、先ほどの左上の場合、下記のように行き先を指定します。
全てのPointを入力するのは大変なので、スクリプト内でRayを投げて壁の有無を確認して行き先候補をセットするようにします。
using System.Collections.Generic;
using UnityEngine;

public class Point : MonoBehaviour
{
    [SerializeField] private LayerMask stageLayer;
    public List<Vector2> Directions;

    private void Start()
    {
        Directions = new List<Vector2>();

        CheckDirection(Vector2.up);
        CheckDirection(Vector2.down);
        CheckDirection(Vector2.left);
        CheckDirection(Vector2.right);
    }

    private void CheckDirection(Vector2 direction)
    {
        RaycastHit2D hit = Physics2D.BoxCast
            (this.transform.position, Vector2.one * 0.5f, 0.0f, direction, 1.0f, this.stageLayer);

        if (hit.collider == null)
        {
            Directions.Add(direction);
        }
    }
}
Pointオブジェクトをプレハブ化しておきます。
Gridの配下に空オブジェクトを追加して「Points」という名前に変更、配下にPointを設置していきます。
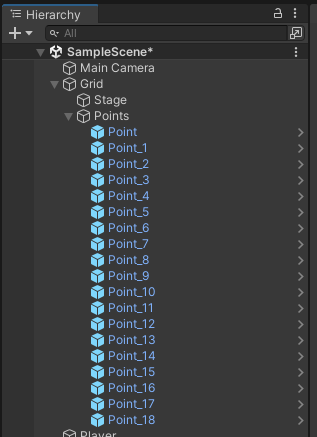
下記のように分岐点全てにPointを設置します。
敵キャラ移動スクリプトの作成
敵キャラの移動スクリプト(Enemy)は下記のようにします。ほぼPlayerスクリプトと同様です。方向転換が「キー入力」から「ポイントにぶつかる」に変わっているのが異なる点です。
using UnityEngine;

public class Enemy : MonoBehaviour
{
    [SerializeField] private LayerMask stageLayer;

    private Rigidbody2D rb;
    private float speed = 7.5f;
    private Vector2 _direction;
    private Vector2 _directionReserve;

    private void Start()
    {
        rb = GetComponent<Rigidbody2D>();
        _direction = Vector2.left;
    }

    private void Update()
    {
        if (_directionReserve != Vector2.zero)
        {
            CheckDirection(_directionReserve);
        }

    }

    private void FixedUpdate()
    {
        Vector2 dist = _direction * speed * Time.fixedDeltaTime;
        rb.MovePosition(rb.position + dist);
    }

    private void CheckDirection(Vector2 direction)
    {
        RaycastHit2D hit = Physics2D.BoxCast
            (transform.position, Vector2.one * 0.5f, 0.0f, direction, 1.0f, stageLayer);

        if (hit.collider == null)
        {
            _direction = direction;
            _directionReserve = Vector2.zero;
        }
    }
    private void OnTriggerEnter2D(Collider2D other)
    {
        Point point = other.GetComponent<Point>();

        if (point != null)
        {
            int index = Random.Range(0, point.Directions.Count);
            _directionReserve = point.Directions[index];
        }
    }
}
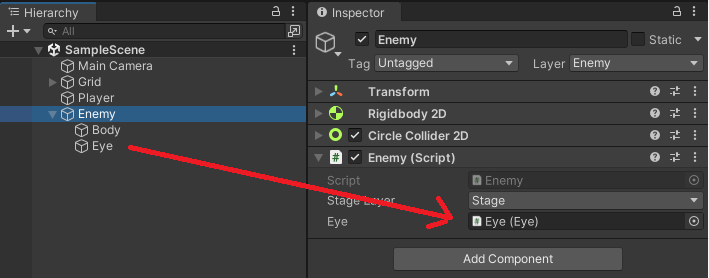
Enemyスクリプトのパラメータをセットします。
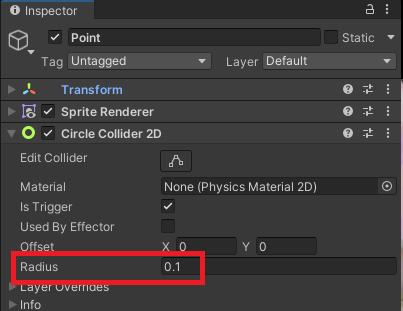
Pointのradiusで判定の範囲を調整します(Radiusが大きいと分岐点の手前で敵キャラが移動します)
目の動きのスクリプト
次に敵キャラの目の位置を進行方向に変更するスクリプトです。下記のようにEyeスクリプトを作成します。
using UnityEngine;

public class Eye : MonoBehaviour
{
    [SerializeField] private Sprite eye_up;
    [SerializeField] private Sprite eye_down;
    [SerializeField] private Sprite eye_left;
    [SerializeField] private Sprite eye_right;

    private SpriteRenderer _sr;

    private void Start()
    {
        _sr = GetComponent<SpriteRenderer>();
    }

    public void ChangeEye(Vector2 direction)
    {

        if (direction == Vector2.up)
        {
            _sr.sprite = eye_up;
        }
        else if (direction == Vector2.down)
        {
            _sr.sprite = eye_down;
        }
        else if (direction == Vector2.left)
        {
            _sr.sprite = eye_left;
        }
        else if (direction == Vector2.right)
        {
            _sr.sprite = eye_right;
        }
    }
}
パラメータには各画像をセットします。
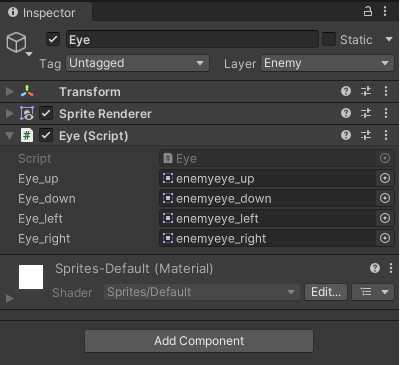
Enemyの「CheckDirection」内に「eye.ChangeEye(_direction)」を追加します。
    [SerializeField] private Eye eye;

    private void CheckDirection(Vector2 direction)
    {
        RaycastHit2D hit = Physics2D.BoxCast
            (transform.position, Vector2.one * 0.5f, 0.0f, direction, 1.0f, stageLayer);

        if (hit.collider == null)
        {
            _direction = direction;
            eye.ChangeEye(_direction);
            _directionReserve = Vector2.zero;
        }
    }
パラメータをセットします。
実行して下記のように敵キャラがランダムに動けばOK
最後にPointのSpriteを無効にしてポイントの表示を消しておきます。
