今回はUnity2Dのタイルマップ(Tilemap)のコライダー機能(衝突)を利用してみます。
はじめに
Unityのバージョンは2022.3.14f1です、下記でタイルマップの基本を書いてます。その続きという感じです。
実装開始
まずはマップ内を移動するキャラクターを簡単に作成していきます。
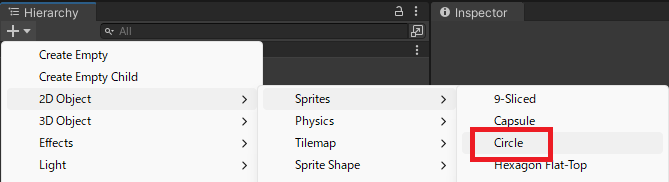
「2DObject」→「Sprites」→「Circle」を追加します。
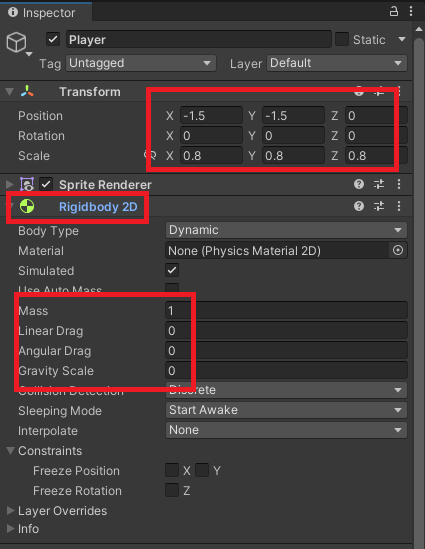
名前をPlayerにして位置とスケールを変更、「Rigidbody2D」をアタッチして、GravityScaleなどを変更します。
下記スクリプトを作成します。キー操作で左右に動きます。
using UnityEngine;

public class Player : MonoBehaviour
{
    private float speed = 10.0f;
    private Rigidbody2D rb;
    private Vector2 movement;

    private void Awake()
    {
        rb = GetComponent<Rigidbody2D>();
    }
    void Update()
    {
        movement.x = Input.GetAxisRaw("Horizontal");
        movement.y = Input.GetAxisRaw("Vertical");
    }

    private void FixedUpdate()
    {
        rb.MovePosition(rb.position + movement.normalized * speed * Time.fixedDeltaTime);
    }
}
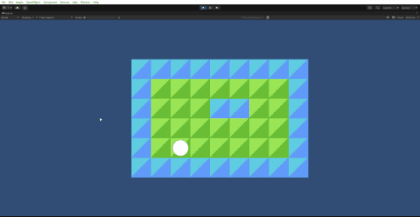
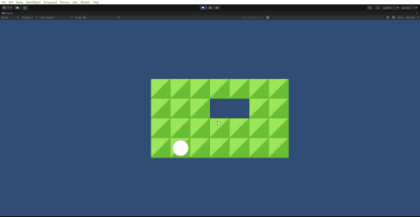
Playerにスクリプトをアタッチして実行すると、下記のように自由に画面上を動きます。
コライダーを設定
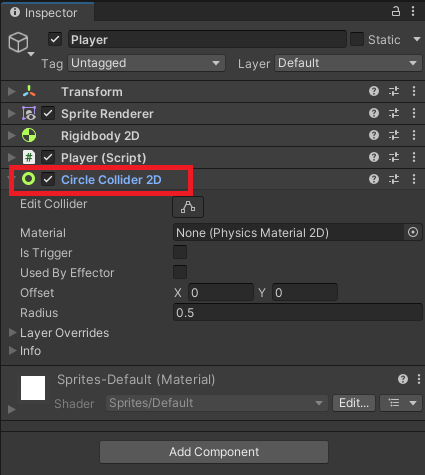
まずはPlayerにサークルコライダーをセットします。
次に侵入できない壁のイメージでタイルを作成します。「2DObject」→「Tilemap」→「Rectangular」を追加し、名前をseaとします。

水色のタイルを下記のように貼り付けます。
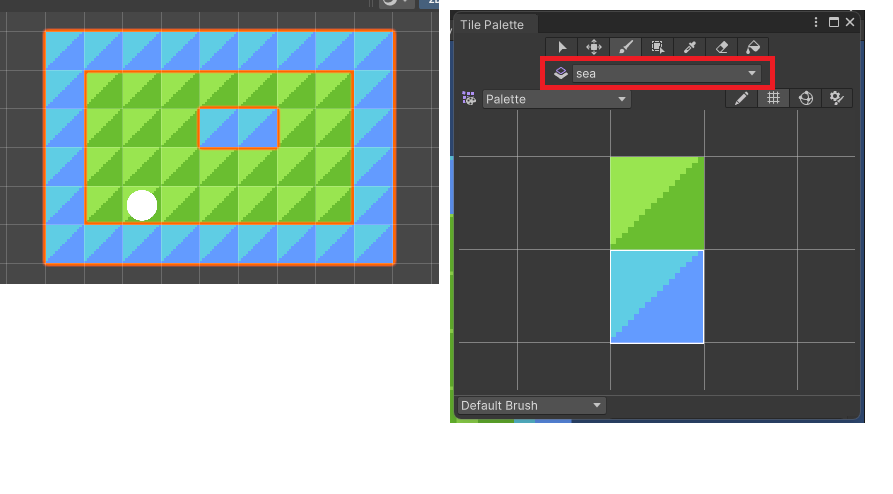
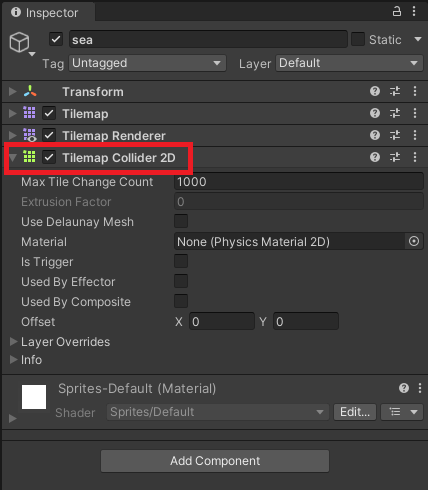
seaに「TilemapCollider2D」をアタッチします。
実行すると、下記のような感じに水色の部分が壁となり、プレイヤーが通れなくなります。