今回はUnity2Dでロープのような動きを実装してみます。
はじめに
Unityのバージョンは2021.3.14f1です。
線の画像にBoneを設定して、くねくねするロープのような動きにしてみます。

画像へのBoneのセットは、下記の記事と同じように行います。

実装開始
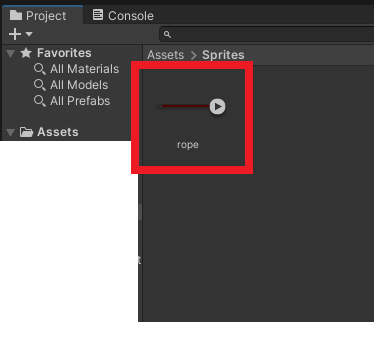
まずはロープとなる画像をProjectフォルダ内にドラッグアンドドロップします。
Boneの設定
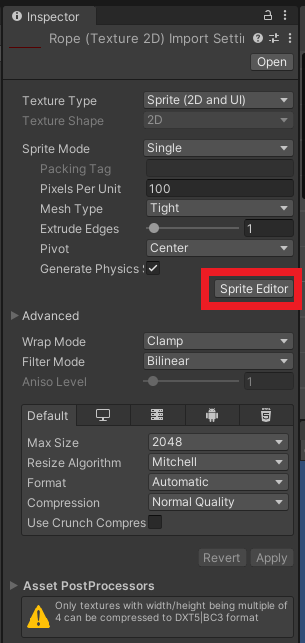
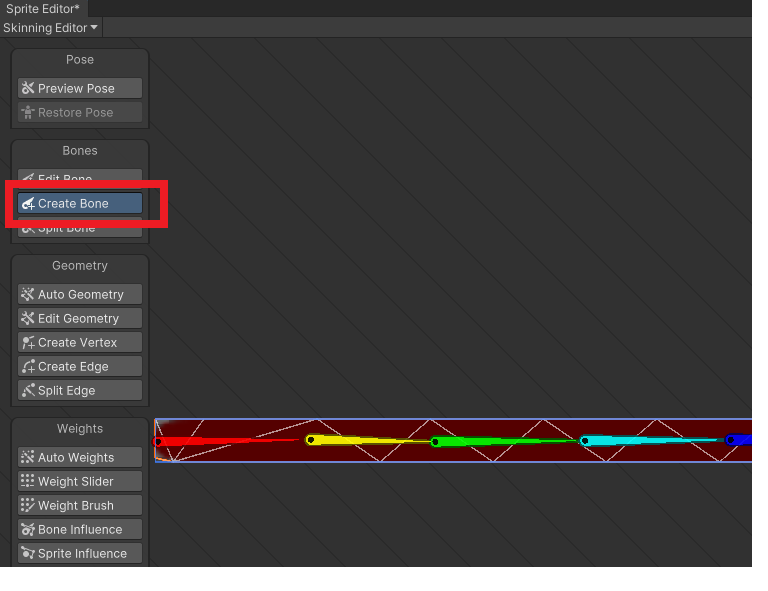
Inspector画面から「SpriteEditor」を選択。
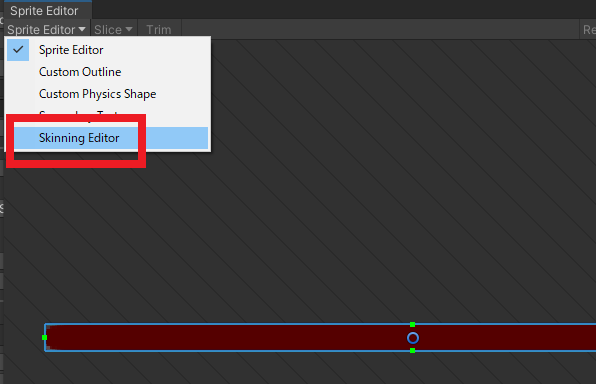
左上から「SkinningEditor」を選択。
「CreateBone」を選択し、画像の真ん中あたりにBoneをセットします。
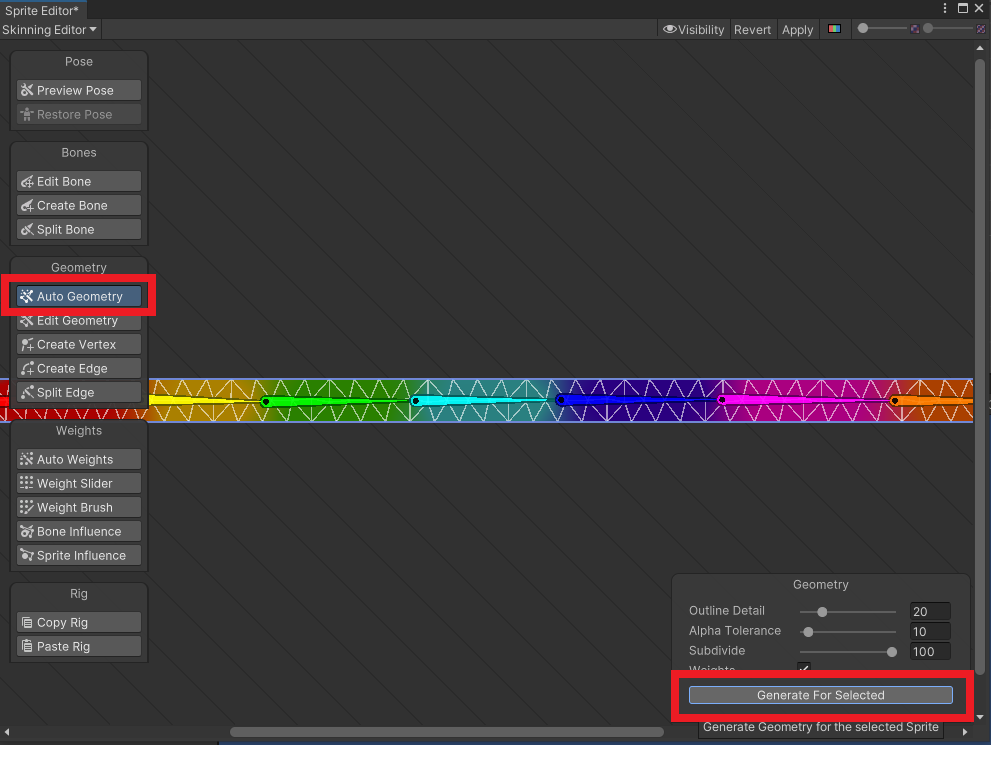
左から「AutoGeometry」を選択し「GenerateForSelected」を押し、Applyで適用します。
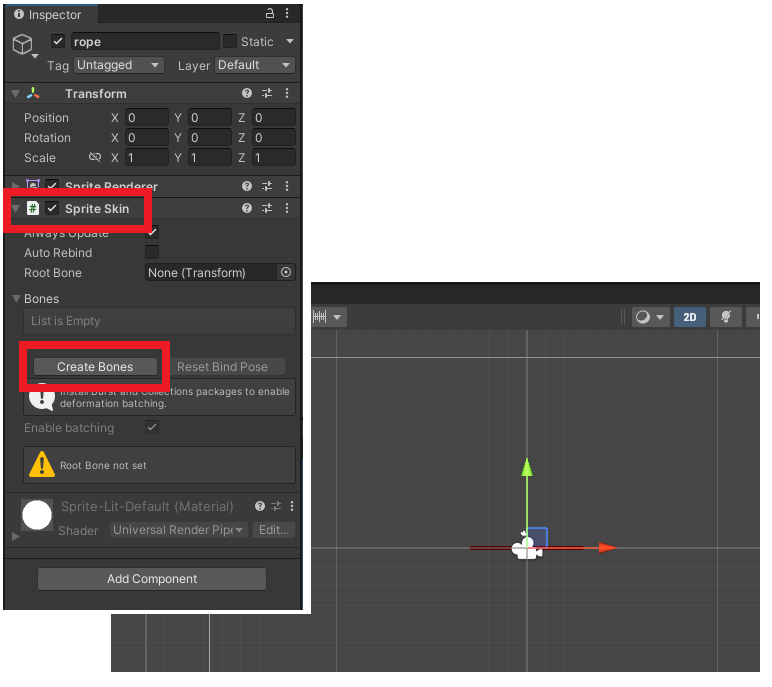
AddComponentからSpriteSkinをアタッチして「CreateBones」を選択。
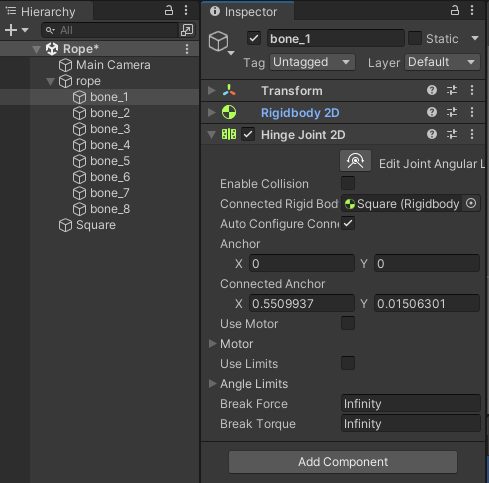
配下にBoneオブジェクトが生成されるので、全てのBoneに「Rigidbody2D」と「HingeJoint2D」をアタッチします。
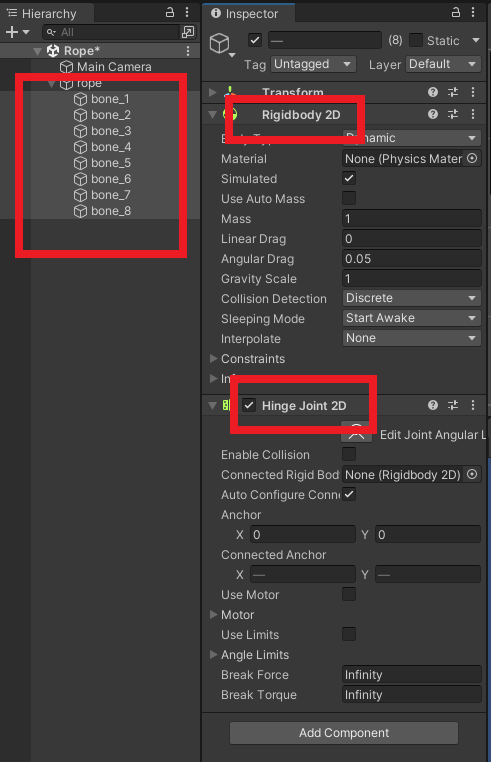
HingeJointは機械部品、動力付きのタイヤ、振り子など幅広く使用されます。
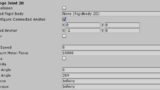
HingeJoint2DのConnectedRigidbodyに「前のbone」をセットします。(bone2にはbone1をセット)
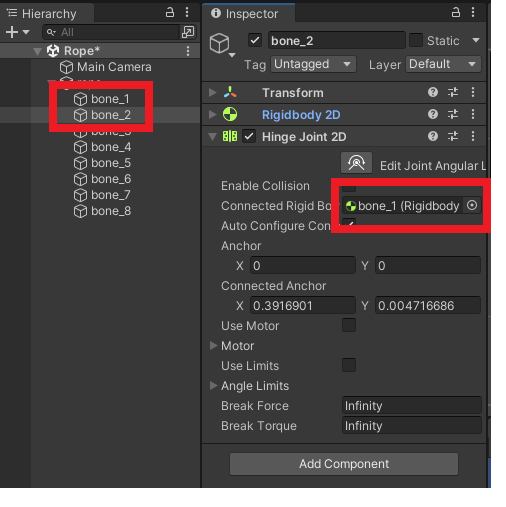
bone_1以外にセットしていきます。
ロープの両端の設定
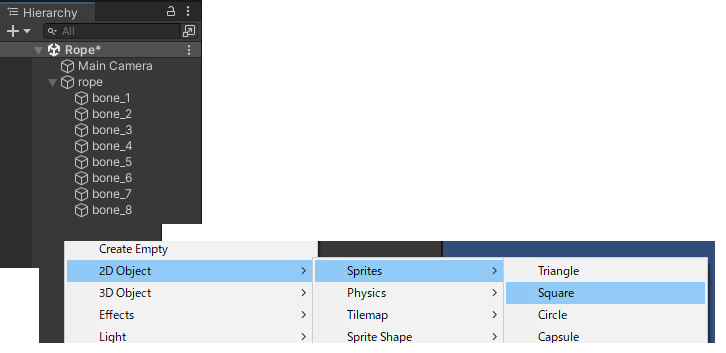
「2DObject」→「Sprites」→「Square」を追加。
Rigidbody2Dをアタッチ、BodyTypeをStaticにします。下記のようにロープ画像の横にくっつける感じにします。
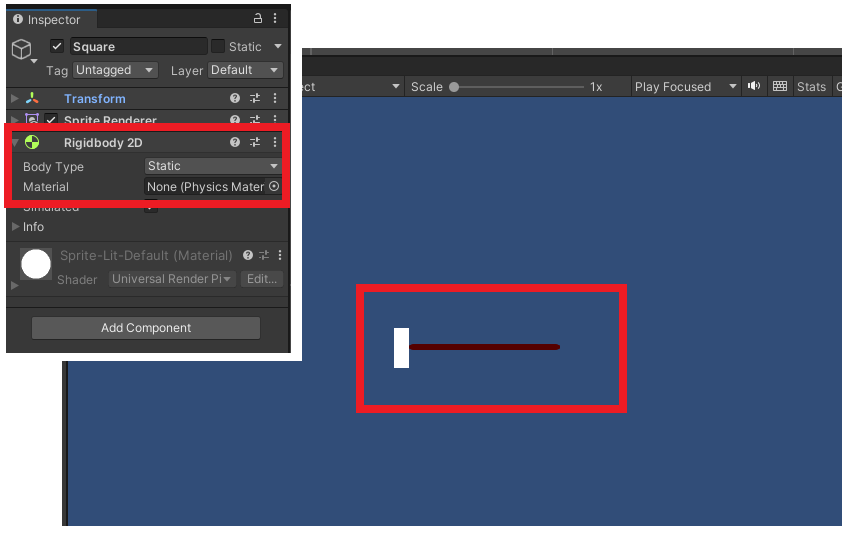
bone1のHingeJoint2DのConnectRigidbodyに追加したオブジェクトをセットします。
反対側も同じように作成し、HingeJoint2Dをアタッチ。ConnectRigidbodyにbone_8をセットします。
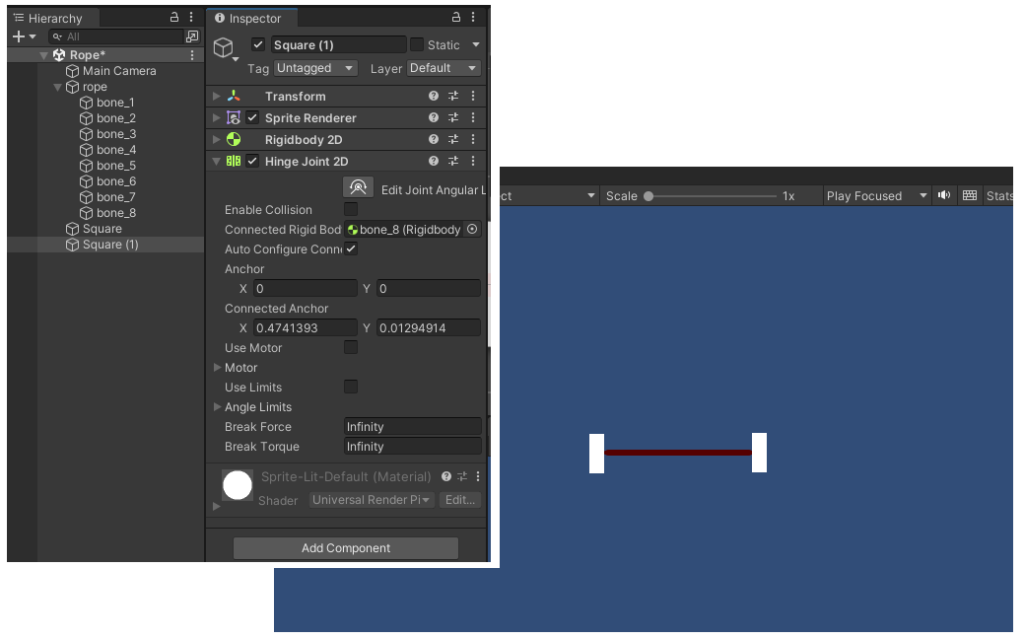
実行すると下記のような感じに。
ロープの上で動かす
全てのBoneにコライダーをセットします。
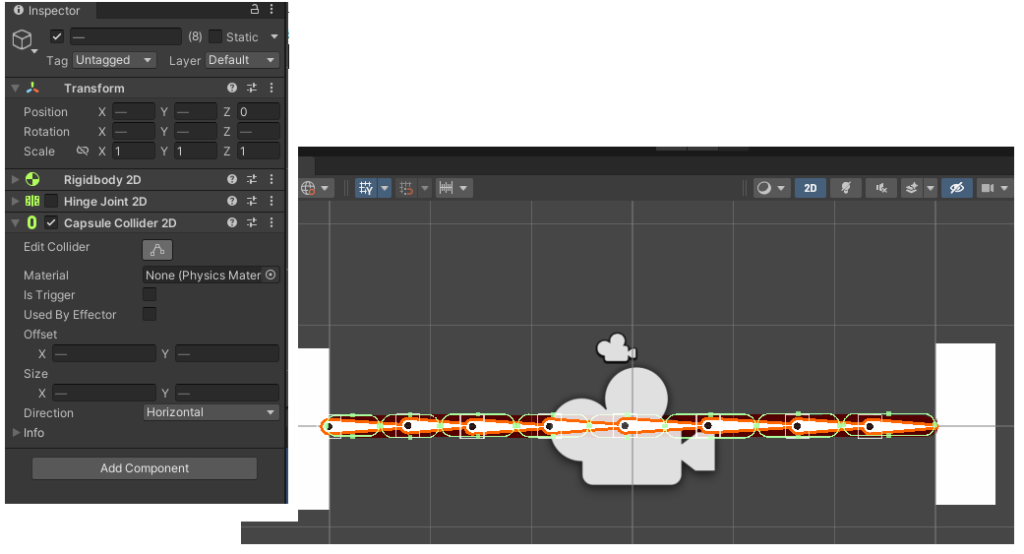
ロープの上でボールを走らせると下記のような感じになります。
