今回はUnityでマス目のフィールドをinstantiateで生成してみます。
はじめに
Unityのバージョンは2021.3.14f1です。
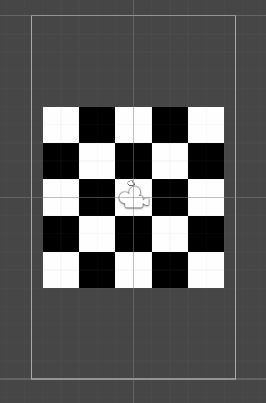
下記の様な、フィールドを生成してみます。
将棋やチェスのようにフィールドのサイズが決まっている場合は画像を用意した方が早いですが、フィールドサイズが変動する場合を想定し、スクリプトで生成してみます。
作成開始
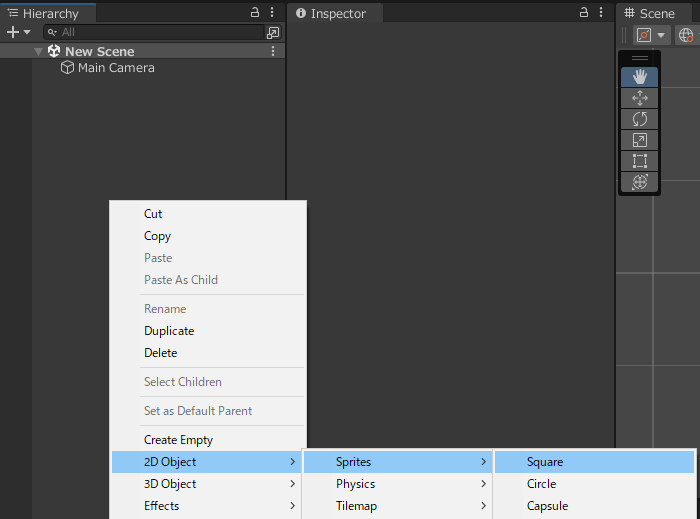
まずは「2DObject」→「Sprites」→「Square」を選択
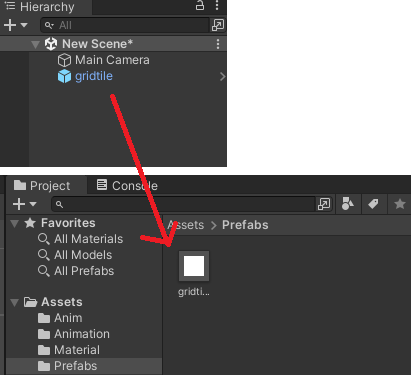
名前をgridtileに変更して、プレハブにします。これが1マス(タイル)です。
マス目の生成
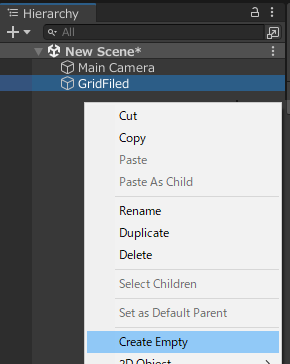
空のオブジェクトを追加して、名前をGridFiledとします。この配下にタイルを並べます。
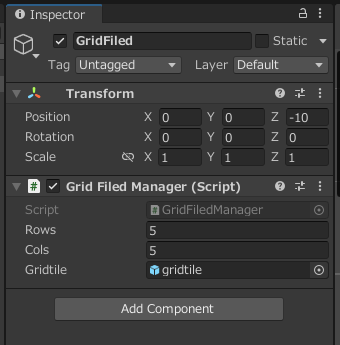
「GridFiledManager」と言う名前でスクリプトをアタッチ。

スクリプトの中身は下記に変更します。
using UnityEngine;

public class GridFiledManager : MonoBehaviour
{
    [SerializeField] private int _rows, _cols;
    [SerializeField] private GameObject _gridtile;

    void Start()
    {
        for (int row = 0; row < _rows; row++)
        {
            for (int col = 0; col < _cols; col++)
            {
                Instantiate(_gridtile, new Vector3(row, col), Quaternion.identity, transform);
            }
        }
    }
}
パラメータでサイズを指定します。
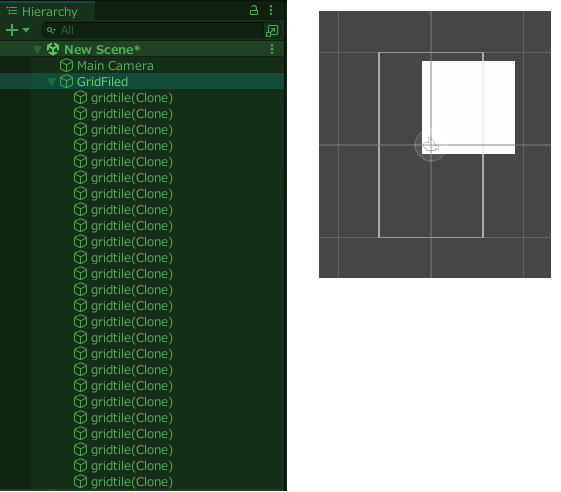
実行すると下記の様な感じに、GridFiledの配下にオブジェクトが生成されます。
マス目が並んでいますが分かりにくいので、色が交互になるようにループ内を下記の様に変更。
        for (int row = 0; row < _rows; row++)
        {
            for (int col = 0; col < _cols; col++)
            {
                GameObject grid = Instantiate(_gridtile, transform);
                grid.transform.position = new Vector3(row, col);
                if ((row + col) % 2 != 0)
                    grid.GetComponent<SpriteRenderer>().color = Color.black;
            }
        }
実行すると下記の様な感じに生成されます。

位置・色の調整
タイルの親オブジェクトの位置をずらして「画面中央にフィールドがくるように調整」、「タイルの色をパラメータで指定」できるようにします。
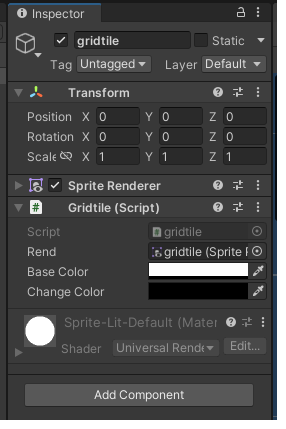
まずはgridtileのプレハブにgridtileスクリプトを新規作成してアタッチ

gridtileのスクリプトは下記に変更します。
using UnityEngine;

public class gridtile : MonoBehaviour
{
    [SerializeField] private SpriteRenderer _rend;
    [SerializeField] private Color _baseColor, _changeColor;

    public void ColorChange(bool isChangeColor)
    {
        if (isChangeColor == true)
            _rend.color = _changeColor;
        else
            _rend.color = _baseColor;
    }
}
if文の部分は下記でも可。
_rend.color = isChangeColor ? _changeColor : _baseColor;
パラメータをセットします。
次に、GridFiledManagerのスクリプトを下記に変更します。
using UnityEngine;

public class GridFiledManager : MonoBehaviour
{
    [SerializeField] private int _rows, _cols;
    [SerializeField] private gridtile _gridtile;

    void Start()
    {
        for (int row = 0; row < _rows; row++)
        {
            for (int col = 0; col < _cols; col++)
            {
                gridtile grid = Instantiate(_gridtile, transform);
                grid.transform.position = new Vector3(row, col);
                grid.ColorChange((row + col) % 2 != 0);
            }
        }
        transform.position = new Vector2((float)-_rows / 2 + 0.5f, (float)-_cols / 2 + 0.5f);
    }
}
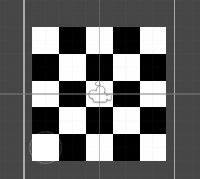
実行して下記の様になればOK