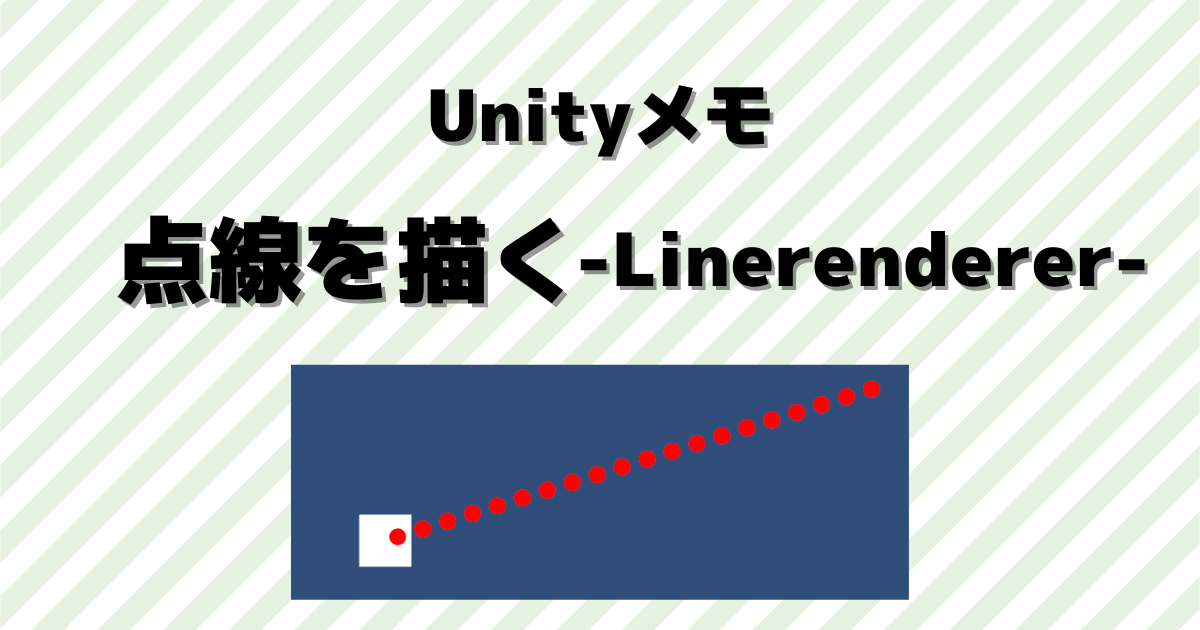
UnityのLineRendererを利用して、点線を描いてみます。点線だけでなく好きな画像の線を引くこともできます。
はじめに
Unityのバージョンは2021.3.14f1です。
マウスで線を描くのを下記で紹介しています。今回はマウスでクリックした位置への線を点線で書いてみます。
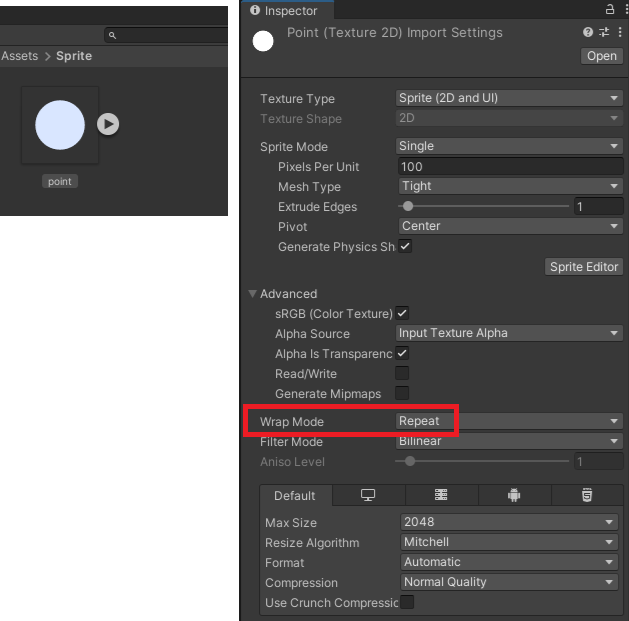
周りに余白のある、下記画像を利用しています(実際に利用しているのは白色です)。

実装開始
まずは動作を確認してからスクリプトで実装していきます。
オブジェクトの作成
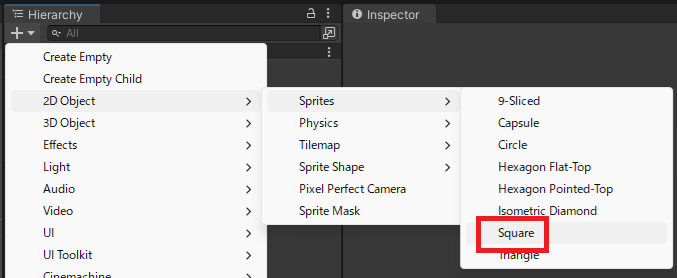
Hierarchyで「2DObject」→「Sprites」→「Square」を追加して、名前をPlayerに変更します。
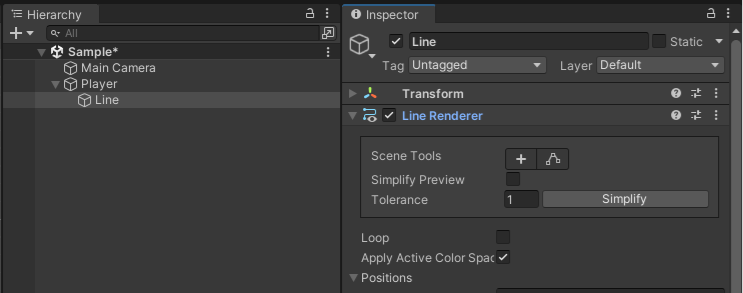
配下に「CreateEmpty」で空オブジェクトを追加。名前を「Line」に変更して、AddComponentから「LineRenderer」を追加します。
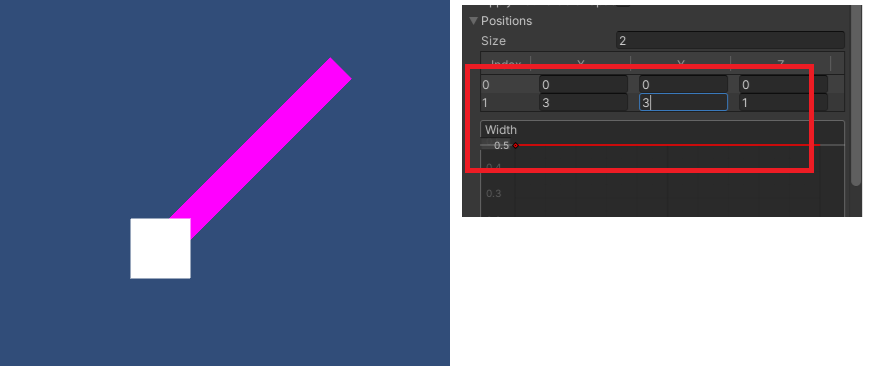
LinerendererのPositions、Widthを下記のように変更します。
まずは、この線を点線に変更していきます。
点線マテリアルの設定
用意した点画像をUnityに取り込みます。Inspector画面でWrapModeで「Repeat」を選択します。
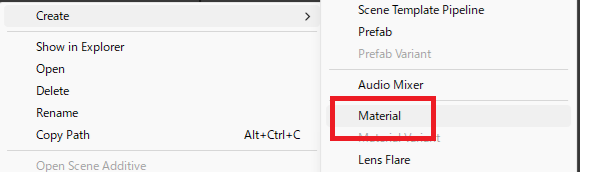
Projectフォルダ内で「Create」→「Material」を追加します。名前はPointLineにしておきます。
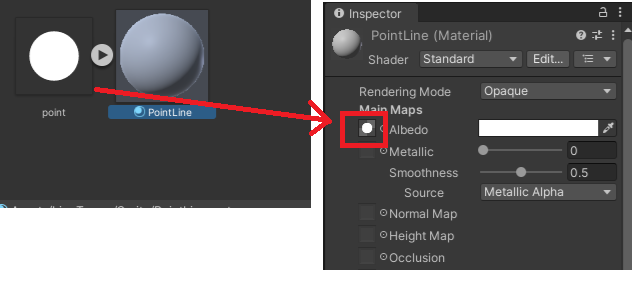
MaterialのInspectorにあるAlbedoに点の画像をセットします。
Shaderを「Sprites/Default」に変更します。

LinerendererのTextureModeを「Tile」に変更して、マテリアルを作成したPointLineに変更します。
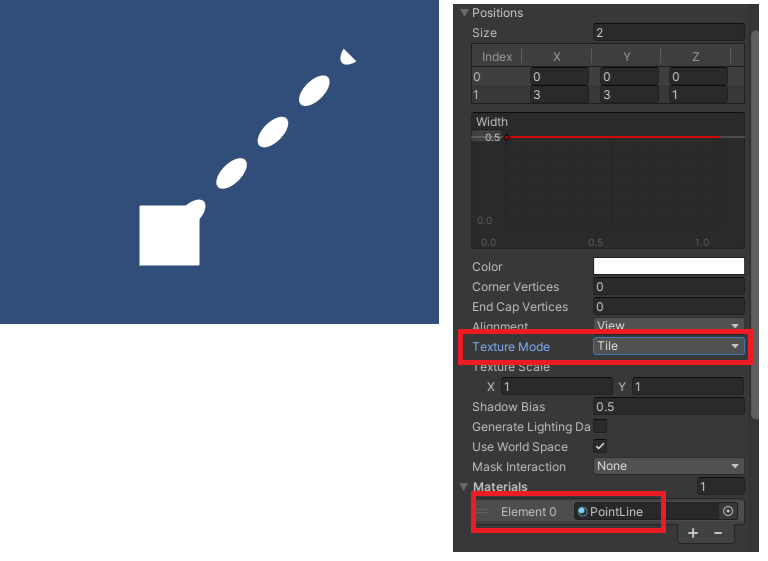
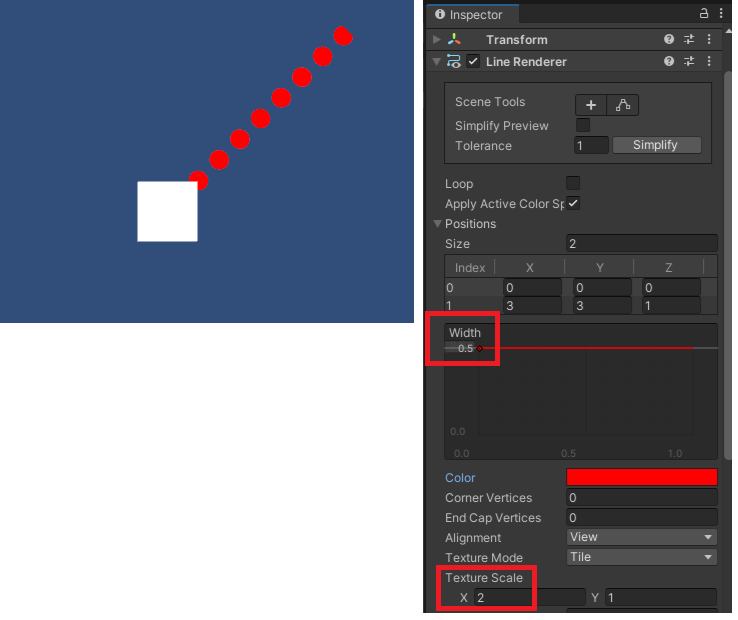
画像が伸びたようになっているのはWidthを0.5にしたためです。TextureScaleのXを2にすると元画像の比率になります(「Width」×「TextureScaleX」=1にします)。色も分かりやすく変更しておきます。
これで点線が作成できました。画像を変更することで、好きな線を描くことが出来ます。
スクリプトの作成
マウスでクリックした位置まで線を引いてみます。下記のスクリプトを作成します。
using UnityEngine;

public class LineManager : MonoBehaviour
{
    [SerializeField] private LineRenderer rend;

    private void Start()
    {
        rend.enabled = false;
        rend.positionCount = 1;
        rend.SetPosition(0, transform.position);
    }

    void Update()
    {
        if (Input.GetMouseButton(0))
        {
            Vector2 mousePos = Camera.main.ScreenToWorldPoint(Input.mousePosition);
            rend.enabled = true;
            rend.positionCount = 2;
            rend.SetPosition(1, mousePos);
        }
    }
}
マウスクリックした位置をLinerendererの2番目にセットしています。
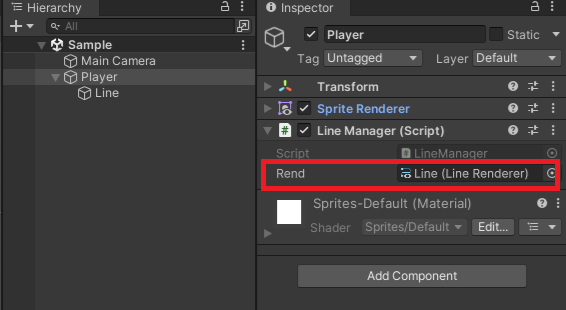
Playerにスクリプトを追加して、パラメータのLinerendererをセットします。
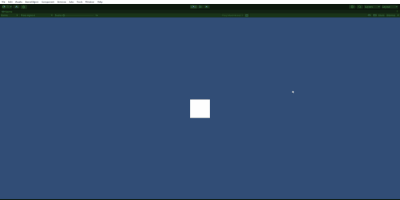
実行すると下記のような感じになります。
点線や破線の場合、画像を用意するのではなくShaderを使う方法もありますね。