Unityの2Dゲームで簡単なアイテム欄(インベントリ)の実装Part2です。
はじめに
前回のPart1では「アイテムを移動する」ところまで実装しました。
今回は続きとなる「アイテムの使用」、「アイテムを複数格納」を簡単に実装します。
実装開始
前回のPart1からの続きです。
アイテムの効果
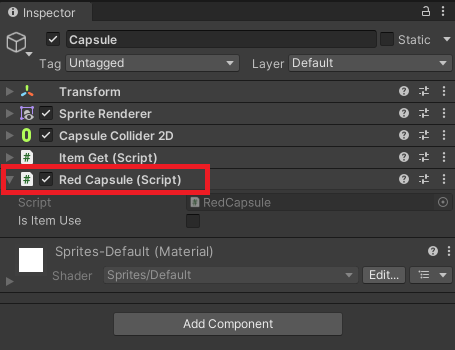
まずはアイテムに効果を付けるので「RedCapsule」と言う名前でスクリプトを作成します。プレイヤーを赤色に変化させたら消えるという簡単なものです。アイテム欄に存在する状態なのかも管理します。
using UnityEngine;

public class RedCapsule : MonoBehaviour
{
    public bool isItemUse = false;
    private SpriteRenderer Player;

    void Start()
    {
        Player = GameObject.FindGameObjectWithTag("Player").GetComponent<SpriteRenderer>();
    }

    private void OnMouseDown()
    {
        if (!isItemUse) return;

        Player.color = Color.red;
        Destroy(gameObject);
    }
}
スクリプトをCapsuleにアタッチします。
ItemGetのスクリプトを変更します。
using UnityEngine;

public class ItemGet : MonoBehaviour
{
    private Vector3 Pos;

    private void OnTriggerEnter2D(Collider2D collision)
    {
        if (collision.CompareTag("Player"))
        {
            Pos.x = ItemManager.instance.ItemSlot.transform.position.x;
            Pos.y = ItemManager.instance.ItemSlot.transform.position.y;
            Pos.z = 0;

            transform.position = Pos;
            gameObject.GetComponent<RedCapsule>().isItemUse = true;
        }
    }
}
試しに動かして、アイテム欄に入った後にアイテムをクリックしてプレイヤーの色が変わればOK。
複数アイテムに対応
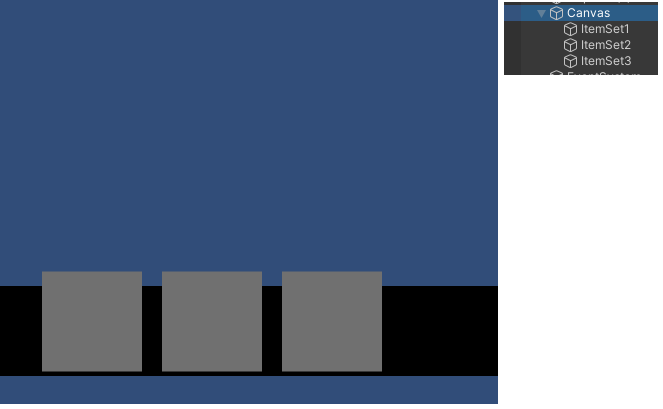
現状だとアイテム欄が一つだけなので複数のアイテム欄を作成していきます。まずはItemSetをコピーして位置を変更して並べます。
各スクリプトを変更していきます。
アイテム欄を配列にして、アイテム欄にアイテムが入っているかを管理する変数を追加。
using UnityEngine;

public class ItemManager : MonoBehaviour
{
    public bool[] isItemSlot;
    public GameObject[] ItemSlot;

    public static ItemManager instance { get; private set; }

    private void Awake()
    {
        instance = this;
    }
}
アイテムを拾った時のスクリプトは、空きのアイテム欄を探して、空いてる場所前詰めで移動するように変更。
using UnityEngine;

public class ItemGet : MonoBehaviour
{
    public int ItemNo;
    private Vector3 Pos;

    private void OnTriggerEnter2D(Collider2D collision)
    {
        if (collision.CompareTag("Player"))
        {
            for (int i = 0; i < ItemManager.instance.ItemSlot.Length; i++)
            {
                if (ItemManager.instance.isItemSlot[i] == false)
                {
                    ItemMove(i);
                    break;
                }
            }
        }
    }

    private void ItemMove(int i)
    {
        ItemNo = i;
        Pos.x = ItemManager.instance.ItemSlot[i].transform.position.x;
        Pos.y = ItemManager.instance.ItemSlot[i].transform.position.y;
        Pos.z = 0;

        transform.position = Pos;
        ItemManager.instance.isItemSlot[i] = true;
        gameObject.GetComponent<RedCapsule>().isItemUse = true;
    }
}
アイテムを使用した時に、該当するアイテム欄のフラグをあけます。
using UnityEngine;

public class RedCapsule : MonoBehaviour
{
    public bool isItemUse = false;
    private SpriteRenderer Player;

    void Start()
    {
        Player = GameObject.FindGameObjectWithTag("Player").GetComponent<SpriteRenderer>();
    }

    private void OnMouseDown()
    {
        if (!isItemUse) return;

        int i = gameObject.GetComponent<ItemGet>().ItemNo;
        ItemManager.instance.isItemSlot[i] = false;
        Player.color = Color.red;
        Destroy(gameObject);
    }
}
最後にItemManagerの変数をセットすれば完成。
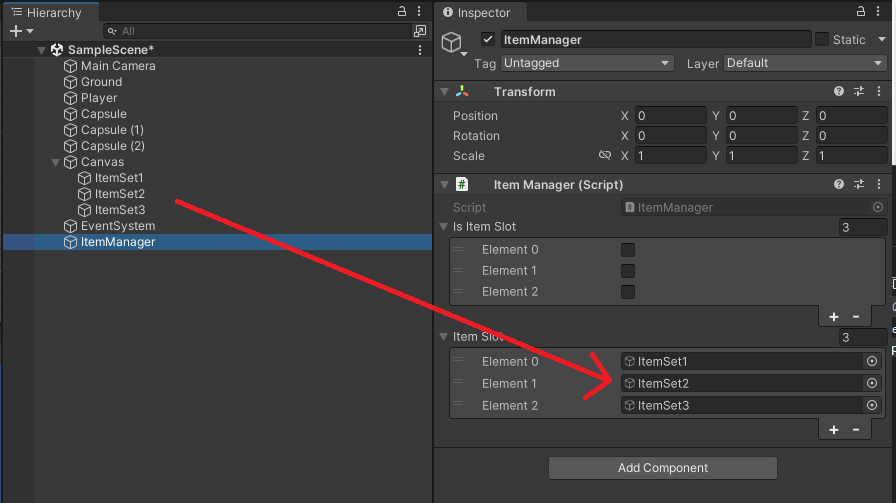
アイテム数を増やして動くか確認してみます。
実際はアイテムをプレハブ化して、アイテム取得時にアイテム欄の配下にインスタンス化。配下にアイテムがあるか無いかでアイテム欄が使えるか判断する。とかの方が管理はしやすいのかも。
ほかにもアイテムにスクリプトを2つアタッチしているけど、1つにまとめるなど、直して使いやすくするポイントは沢山あります。とりあえず「超簡単なアイテム欄」を実装してみたという感じです。