前回は玉転がしゲームの「玉」と「地面」を作成しました。今回は玉が「キー入力で動く」ようにしていきます。まあ、よくあることですね。
プレイヤーを動くように設定
Unityには色々なテンプレといいますか、便利なものが利用できます。今回もすでに用意されたものを使っていきます。
前準備
まずは「ヒエラルキー」からPlayerを選択して「インスペクター」の「コンポーネントを追加」。

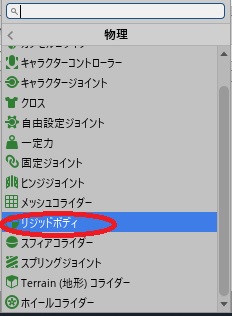
物理の中にある、リジッドボディ(RigidBody)を選び追加。これは簡単に言うと、これまでは「ボールの絵」状態だったけど、リジッドボディを追加することで動きを付けれるようになるというイメージですね。動的という言い方もしますね。逆にRigidBodyが無いのは静的という感じですね。
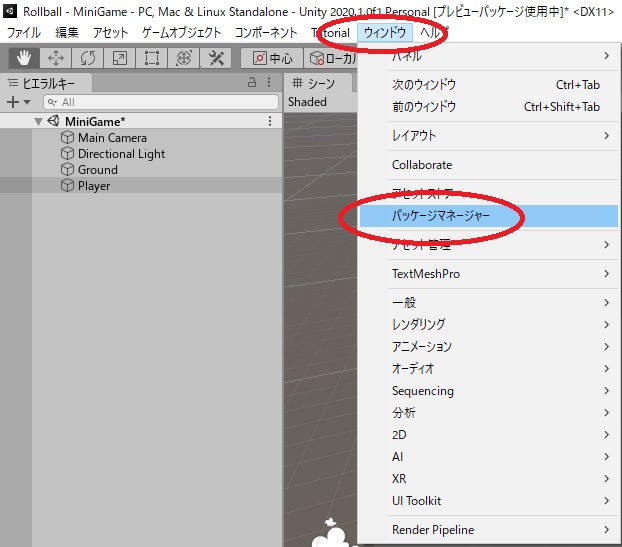
次にキーボード入力を有効にします。画面上の「ウィンドウ」から「パッケージマネージャー」を選びます。
一覧の中から「Input System」をインストールします。
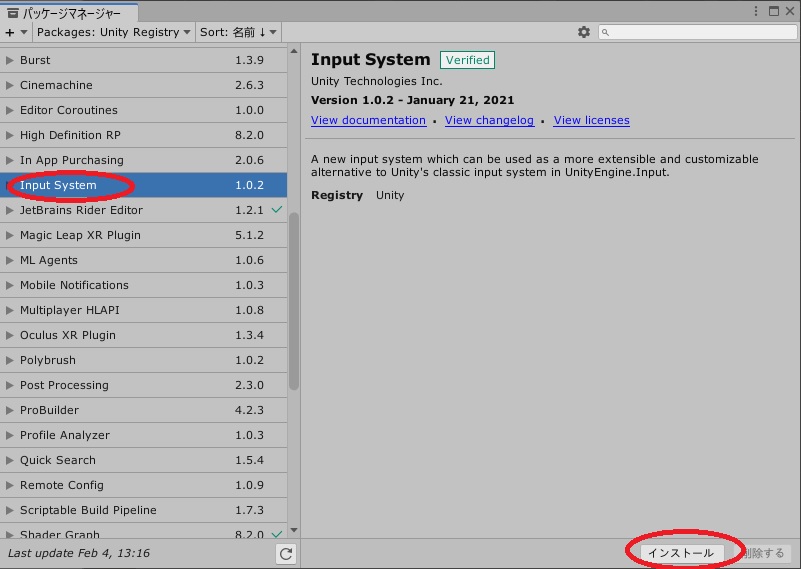
インストールが完了すると、適用するにはリスタートしてください。的なメッセージが出てくるので「Yes」を選択。Unityの再起動がかかります。
次に設定を少し変更しておきます。画面左上の「ファイル」から「ビルド設定」を選びます。
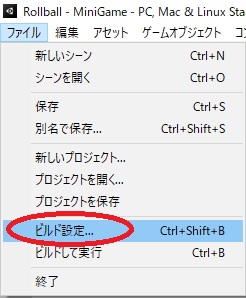
アーキテクチャをx86からx86_64に変更して閉じます。これで前準備完了です。

実際に動くように設定
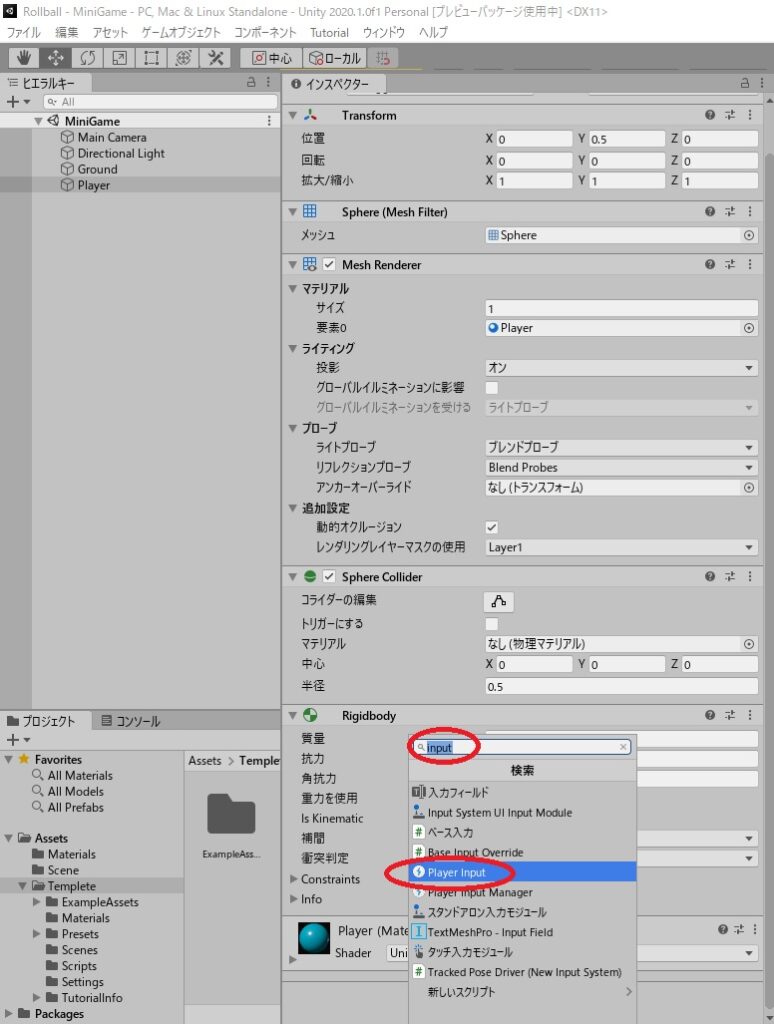
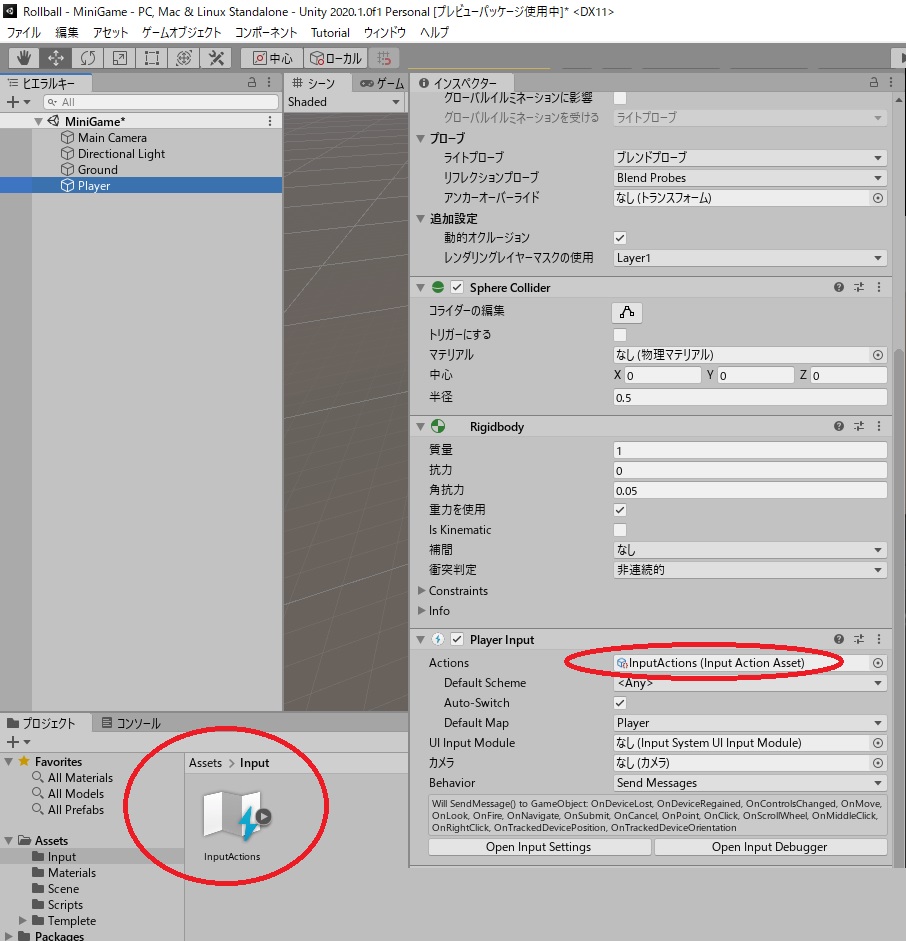
ここから実際に玉(Player)を動かせるように設定していきます。まずはPlayerの「コンポーネント追加」で「Player Input」を追加。
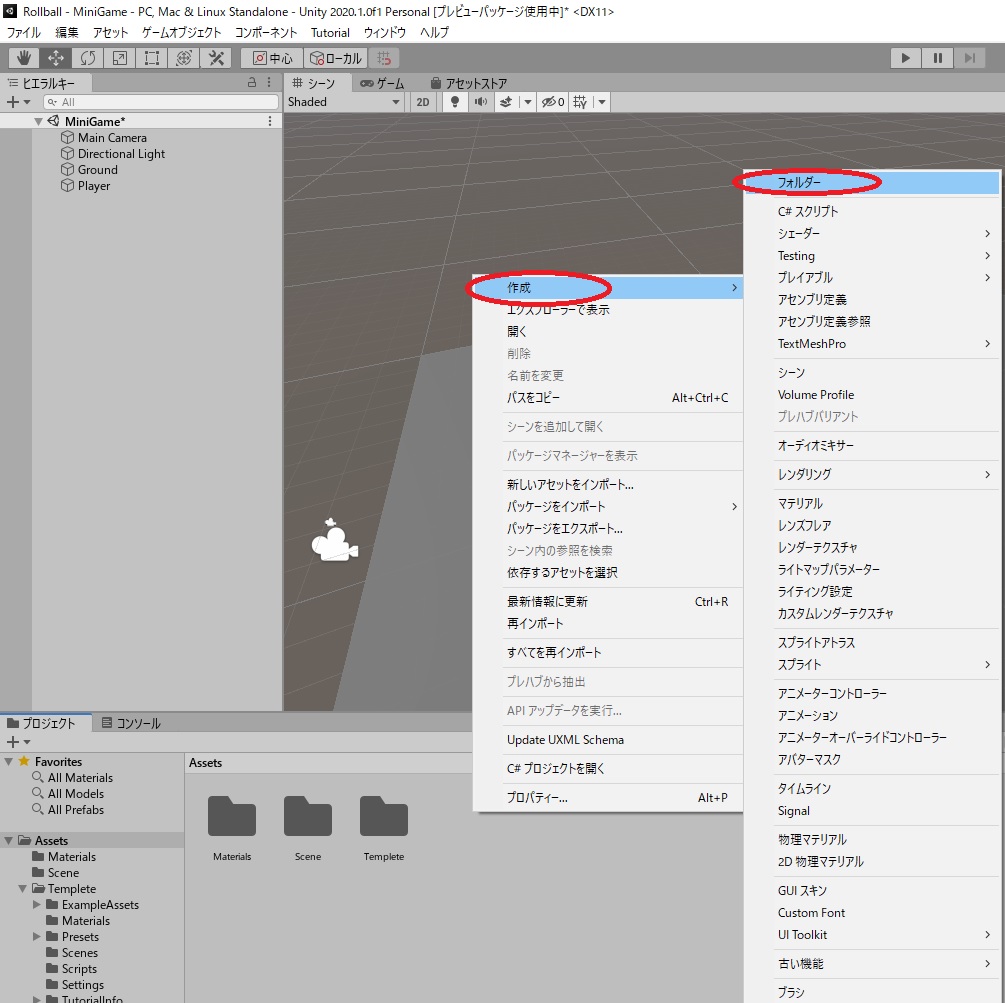
次にAssets内に新しくフォルダーを作成。名前は「Input」としておきます。
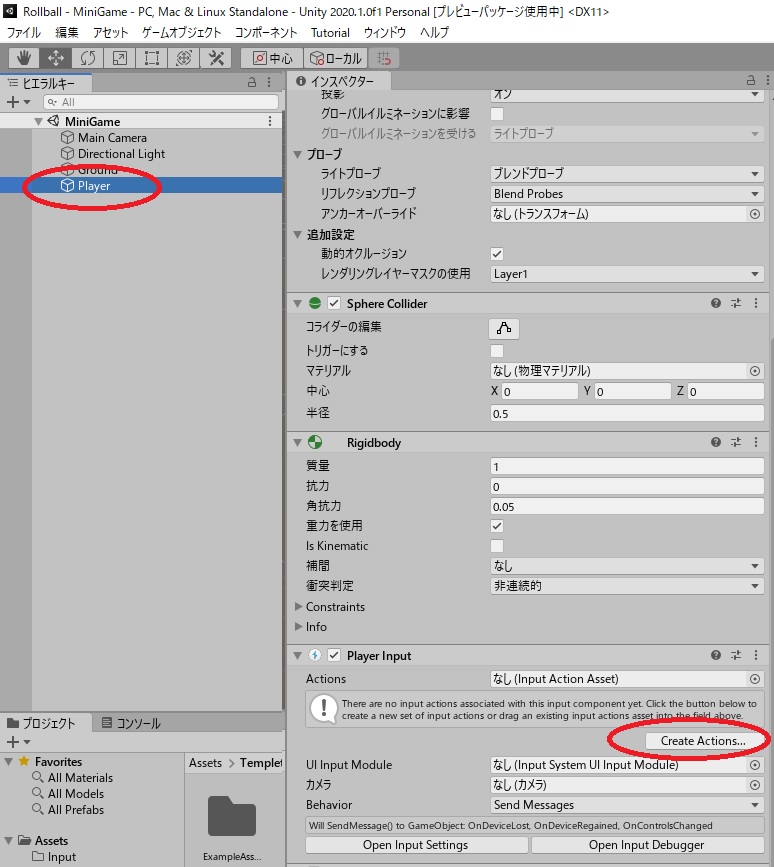
インスペクターの「Player Input」の「Create Actions…」を押して作成したInputフォルダ内に「InputActions」を作成します。
下図ように、Assets内にInputフォルダ、その中に「InputActions」という名前でInputActionsが出来れていればOK
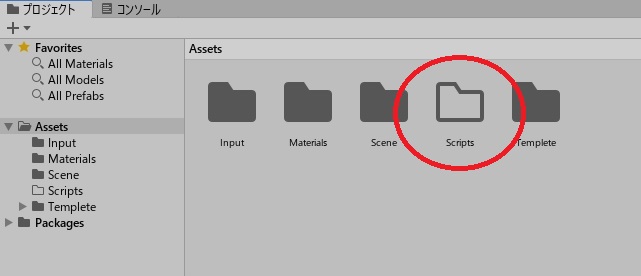
次にAssets内に「Scripts」という名前でもう一個フォルダを追加。
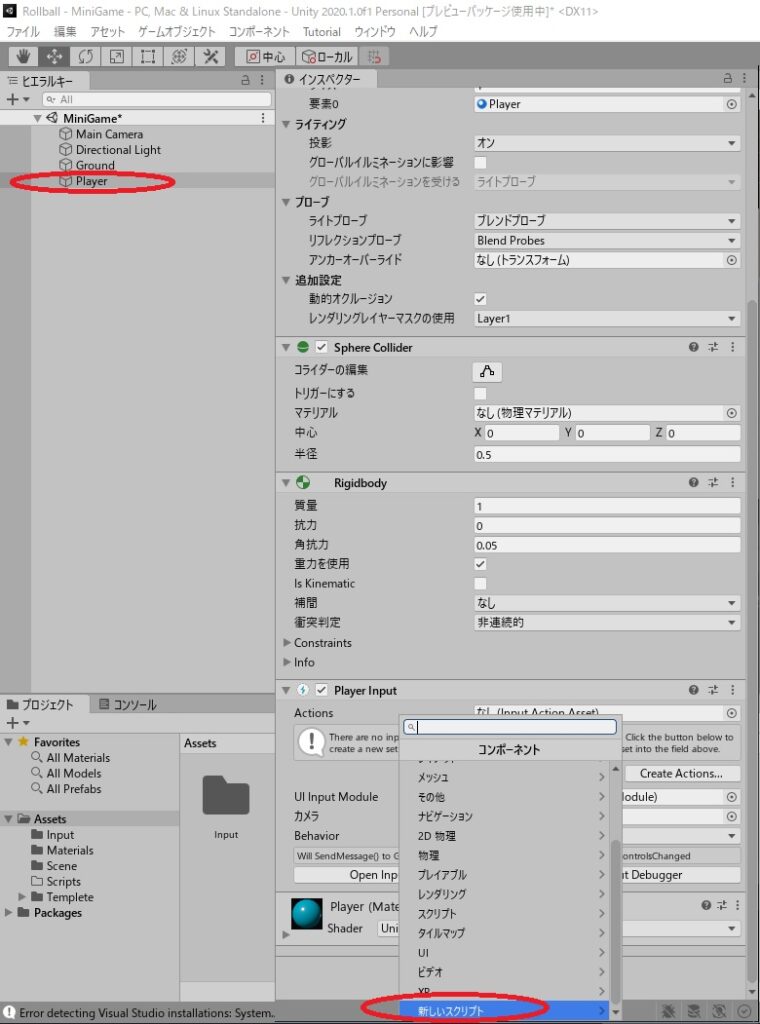
コンポーネントの追加から「新しいスクリプト」を選んで作成。名前は「PlayerController」にしておきます。
Assets内にファイルが出来るので「Scripts」フォルダ内に移動しておきます。

コードを作成
ここからは実際にコードを書いていきます。プログラミングをやったことが無い人が詰まるポイントですが、まあ、初めは何となく理解しながらで十分かと。徐々に理解していけば問題ないですわな。
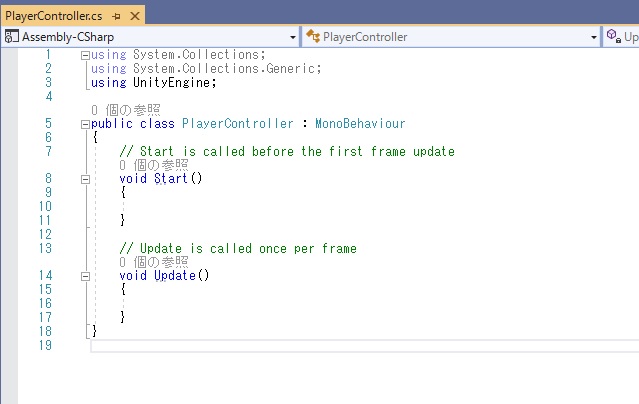
まずは作成した「PlayerController」を開きます。下みたいな感じで出来立てホヤホヤですね。当然、この状態では何も動作しないですわな。
これを下のように変更。
using System.Collections;
using System.Collections.Generic;
using UnityEngine;
using UnityEngine.InputSystem;

public class PlayerController : MonoBehaviour
{
    public float speed = 0;

    private Rigidbody rb;
    private float movementX;
    private float movementY;

    // Start is called before the first frame update
    void Start()
    {
        rb = GetComponent<Rigidbody>();
    }

    void OnMove(InputValue movementValue)
    {
        Vector2 movementVector = movementValue.Get<Vector2>();

        movementX = movementVector.x;
        movementY = movementVector.y;

    }

    private void FixedUpdate()
    {
        Vector3 movement = new Vector3(movementX, 0.0f, movementY);

        rb.AddForce(movement * speed);
    }
}
簡単に説明すると、「キー入力を取得してボールに力を加える。」という感じです。
意外と色々書いてあるのは「画面が3Dだけど実際のボールはX方向とY方向に動く」。「速度の調整を簡単にできるように」しているというのがありますね。とはいえ、物凄く簡単な感じです。
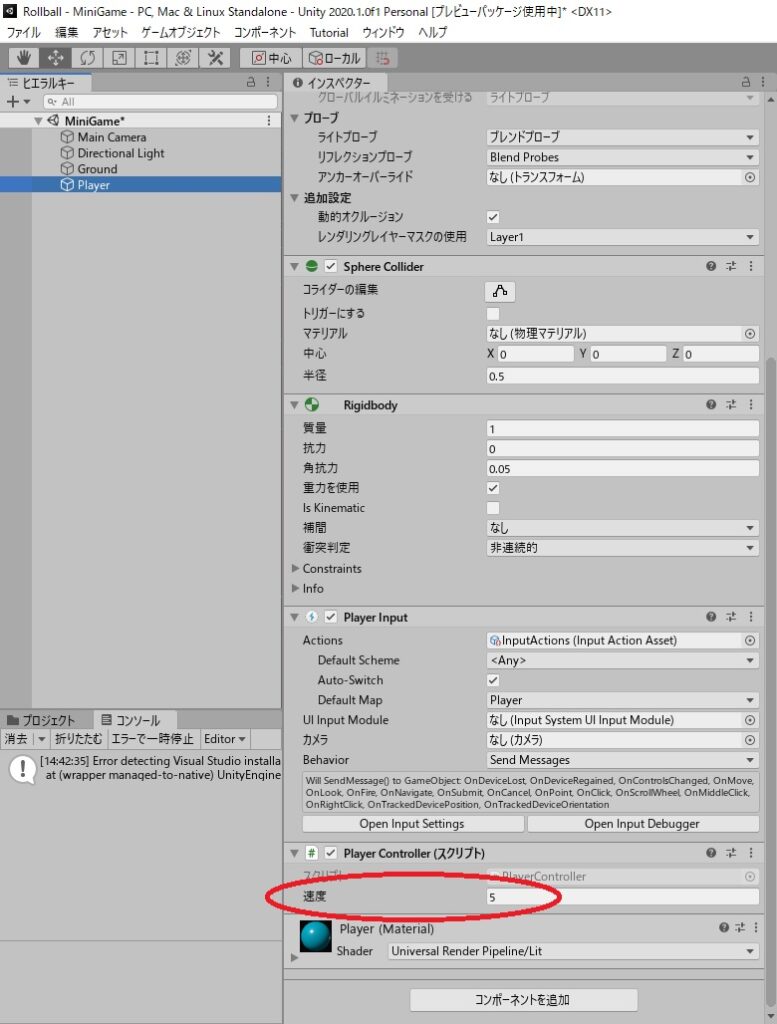
publicで記載したspeedの値はインスペクター画面に出てきて変更できるので、好きな数値に変更しておきます。0のままでは動かないですからね。
変更した後に「再生」してみます。
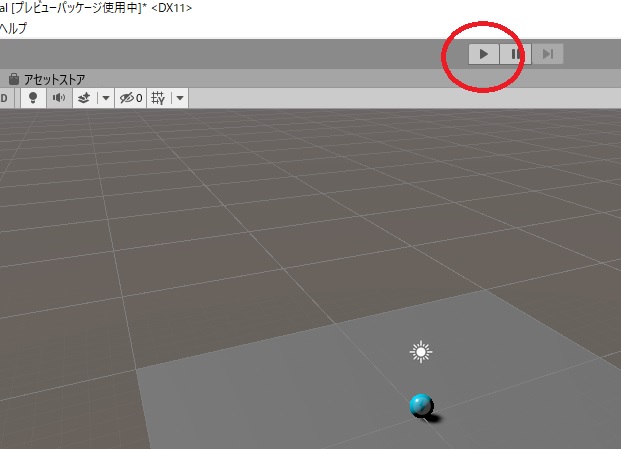
キーボードのWASDや矢印を入力して動けばOK。速度の調整は値を変更するとできます。
次回はカメラと壁を設定していきます。