
UnityのC#でコルーチンを利用して、「指定した秒数の後に実行」するのを実装してみます。
はじめに
コルーチンとは「処理を中断して、続きから処理を再開」することができる関数です。
コルーチンを使うことで「3秒後に色を変更」、「5秒後に移動」など指定した秒数後に処理を行うことができます。実際の簡単な例を見ながら確認していきます。
公式リファレンスは下記です。

実装開始
まずは下記スクリプトを作成します。Start内でオブジェクトの位置を指定しています。
using UnityEngine;

public class IETest : MonoBehaviour
{
    private void Start()
    {
        transform.position = new Vector2(3.0f, 0f);
    }
}
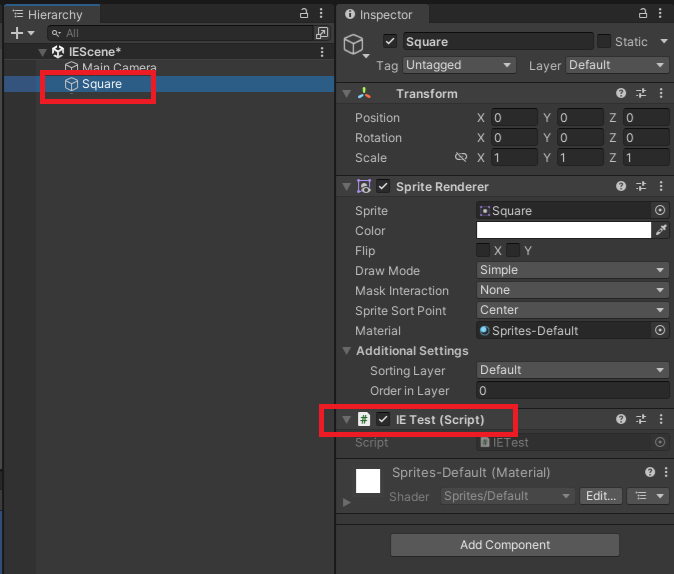
「2DObject」→「Sprites」→「Square」を追加してスクリプトを追加します。
実行すると、オブジェクトが指定した位置に変更されます。
時間を指定して実行
スクリプトを下記に変更します。
using UnityEngine;

public class IETest : MonoBehaviour
{

    private void Start()
    {
        Invoke("MovePos", 2.0f);
    }

    private void MovePos()
    {
        transform.position = new Vector2(3.0f, 0f);
    }
}
実行すると下記のような感じに2秒後に位置が変更されます。

同じ動きをコルーチンを利用すると下記のようになります。「yield return new WaitForSeconds」で指定した秒数を待ってから次の処理を実行しています。
using UnityEngine;
using System.Collections;

public class IETest : MonoBehaviour
{
    private void Start()
    {
        StartCoroutine(MovePos());
    }

    private IEnumerator MovePos()
    {
        yield return new WaitForSeconds(2.0f);
        transform.position = new Vector2(3.0f, 0f);
    }
}
ポイントとしては「IEnumerator」を戻り値にして、「yield return」が関数内にある事。呼び出すときは「StartCoroutine」という点ですね。
Start内でも実装可能
下記のようにStartでも実装することができます。動きは同じです。
using UnityEngine;
using System.Collections;

public class IETest : MonoBehaviour
{
    private IEnumerator Start()
    {
        yield return new WaitForSeconds(2.0f);
        transform.position = new Vector2(3.0f, 0f);
    }
}
繰り返し実行
下記のようにすると「1秒ごとにランダムな位置に移動」を「10回繰り返して実行」します。
using UnityEngine;
using System.Collections;

public class IETest : MonoBehaviour
{
    private IEnumerator Start()
    {
        for (int i = 0; i < 10; i++)
        {
            transform.position = new Vector2(Random.Range(-5.0f, 5.0f), 0f);
            yield return new WaitForSeconds(1.0f);
        }
    }
}
実行すると下記のような感じですね。

簡単なアニメーションを実行
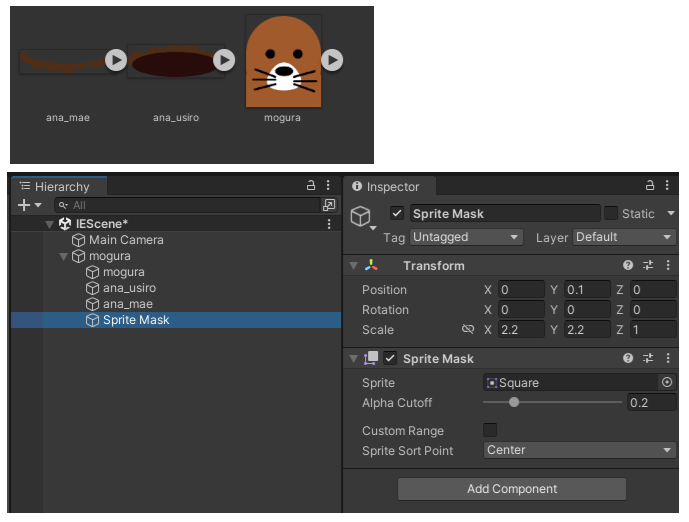
コルーチンを利用することで簡単なアニメーションを作ることもできます。試しに、以前作成した「もぐら叩きのアニメーション」をコルーチンで実装してみます。

まずは画像を取り込み、下記のように画像をセットします(上記記事参考)。
スクリプトを下記のように作成します。
using UnityEngine;
using System.Collections;

public class IETest : MonoBehaviour
{

    private Vector2 startPosition = new Vector2(0f, -1.5f);
    private Vector2 endPosition = Vector2.zero;

    private float showDuration = 0.5f;
    private float stopduration = 1f;

    private void Start()
    {
        StartCoroutine(Show());
    }

    private IEnumerator Show()
    {
        transform.localPosition = startPosition;

        float elapsedTime = 0f;
        float rate = 0f;

        while (elapsedTime < showDuration)
        {
            rate = elapsedTime / showDuration;
            transform.localPosition = Vector2.Lerp(startPosition, endPosition, rate);
            elapsedTime += Time.deltaTime;
            yield return null;
        }

        transform.localPosition = endPosition;

        yield return new WaitForSeconds(stopduration);

        elapsedTime = 0f;
        while (elapsedTime < showDuration)
        {
            rate = elapsedTime / showDuration;
            transform.localPosition = Vector2.Lerp(endPosition, startPosition, rate);
            elapsedTime += Time.deltaTime;
            yield return null;
        }
        transform.localPosition = startPosition;
    }
}
実行すると下記のような感じに動きます。
簡単なスクリプトの説明
Show関数内の下記部分はモグラが上昇する部分です。showDuration(0.5秒)かけてモグラの位置を少しづつ上に変更しています。「yield return null」で1フレーム処理を中断しています。
        while (elapsedTime < showDuration)
        {
            rate = elapsedTime / showDuration;
            transform.localPosition = Vector2.Lerp(startPosition, endPosition, rate);
            elapsedTime += Time.deltaTime;
            yield return null;
        }