Unityで敵キャラを自動で移動させる方法を実装していきます。今回は、プレイヤーを追いかけてくる簡単な敵キャラです。「目的地に自動で移動する」と言う感じですね。
はじめに
「Unity 2020.3.26f1」ヴァージョンで作成しています。
キー入力で動くプレイヤーを追いかけてくる敵キャラを作成していきます。
実装開始
実装は「フィールド作成」→「プレイヤー作成」→「エネミー作成(自動移動の敵キャラ作成)」の順番でしていきます。
フィールドを作成
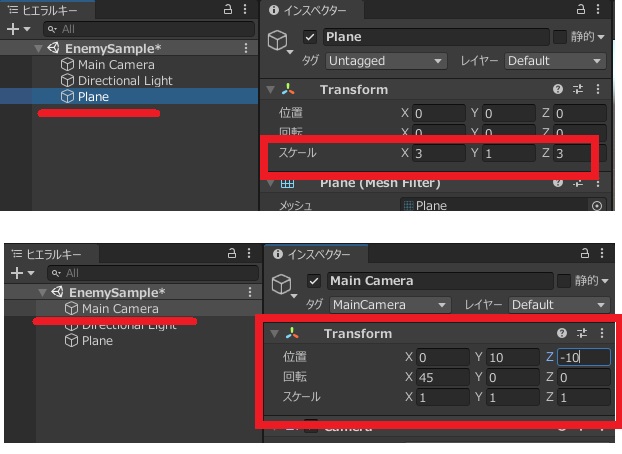
まずは適当にフィールドを作成していきます。3Dオブジェクトの平面を追加。

スケールを広げておきます。ついでにカメラも調整。
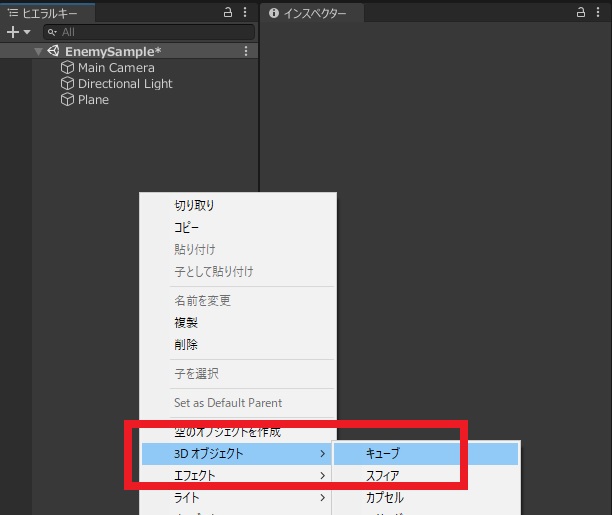
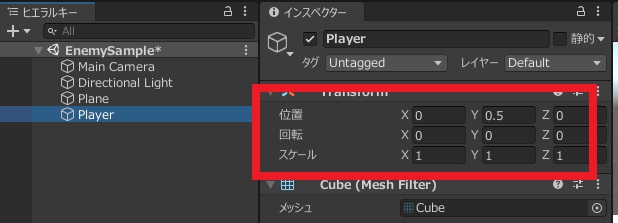
次にプレイヤーとなるオブジェクトを作成。キューブを追加しておきます。
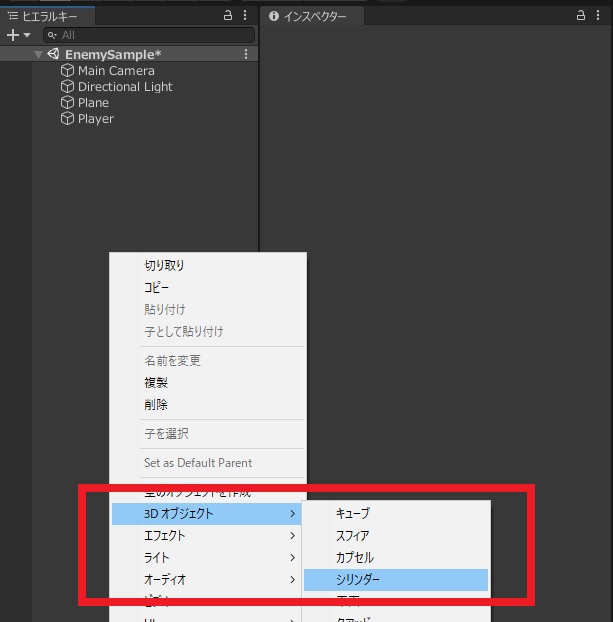
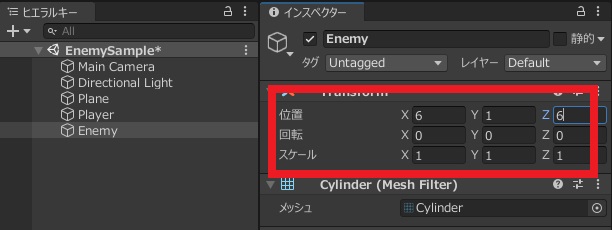
敵キャラはシリンダーを追加しておきます。
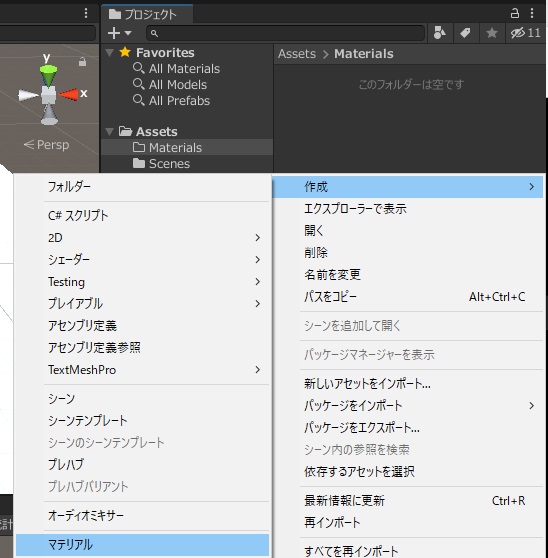
区別がつきやすいように適当にマテリアルを作成して色を付けておきます。
こんな感じでとりあえずフィールドは完成。
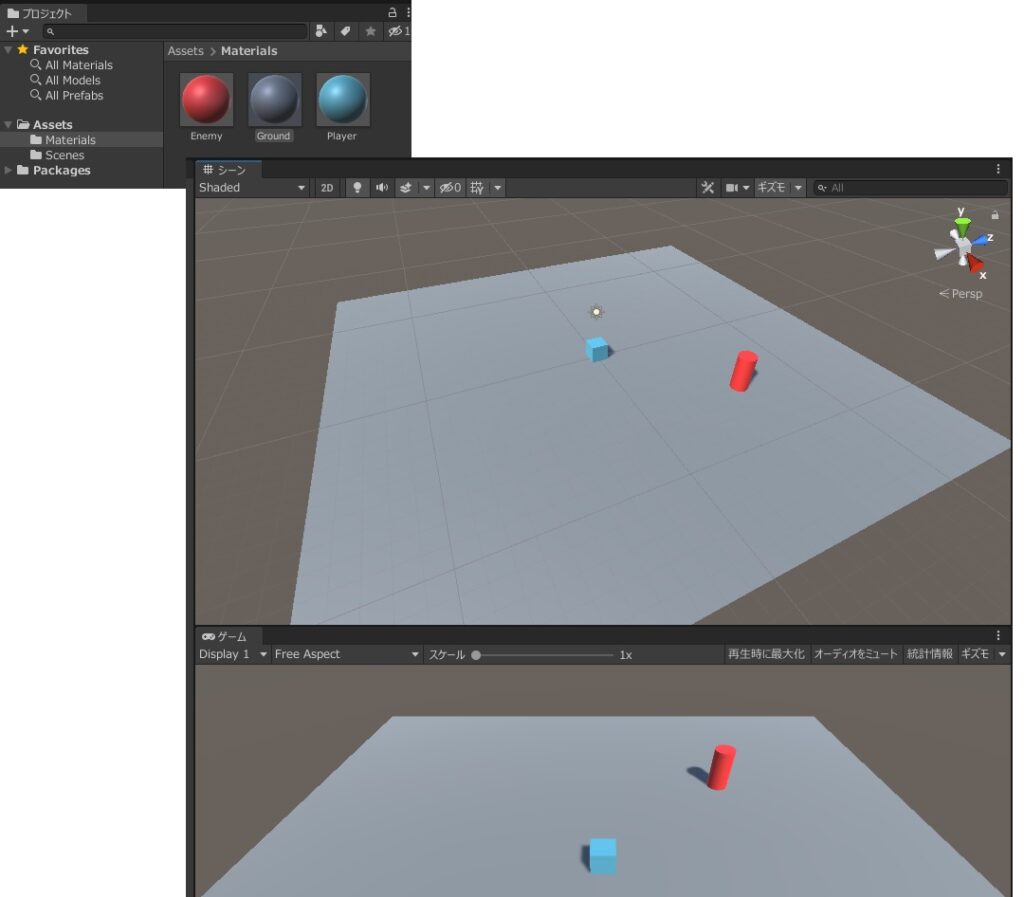
四角い水色をプレイヤー、赤いシリンダーを敵キャラにしていきます。
プレイヤーの作成
プレイヤーを操作できるようにしていきます。RigidbodyとPlayerInput、スクリプトを追加。
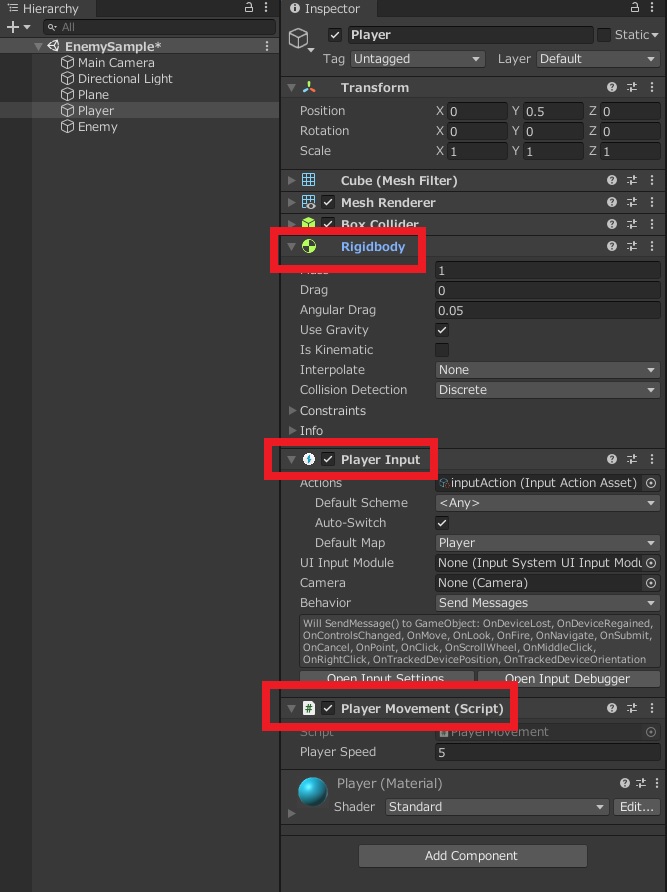
スクリプトの中身は下記に変更。キー操作でプレイヤーを動くようにします。
using System.Collections;
using System.Collections.Generic;
using UnityEngine;
using UnityEngine.InputSystem;
public class PlayerMovement : MonoBehaviour
{
    [SerializeField] private float PlayerSpeed;
    private Rigidbody _rigidbody;
    private Vector3 movement;
    void Start()
    {
        _rigidbody = GetComponent<Rigidbody>();
    }
    void OnMove(InputValue movementValue)
    {
        Vector2 movementVector = movementValue.Get<Vector2>();
        movement = new Vector3(movementVector.x, 0.0f, movementVector.y);
    }
    void Update()
    {
        _rigidbody.velocity = movement * PlayerSpeed;
    }
}
プレイヤーの移動方法については下記で詳しく書いています。
敵キャラのAI作成
次にプレイヤーを追いかける敵キャラを作成していきます。特にこれと言って難しいことはないです。
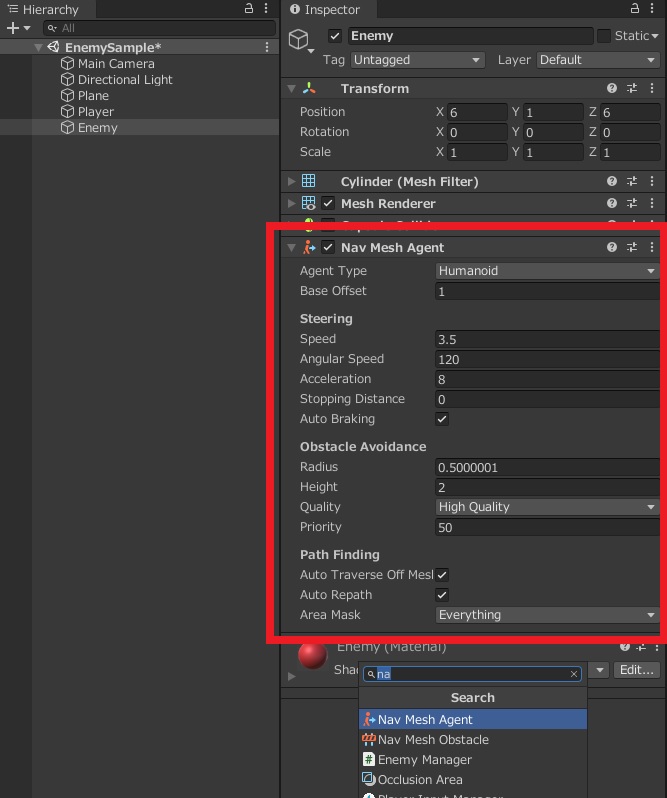
まずはNavMeshAgentを追加。
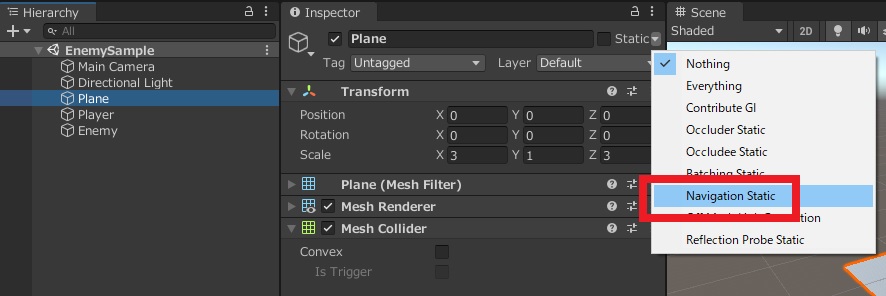
Plane(地面)をNavigationStaticにします。移動する場所指定ですね。
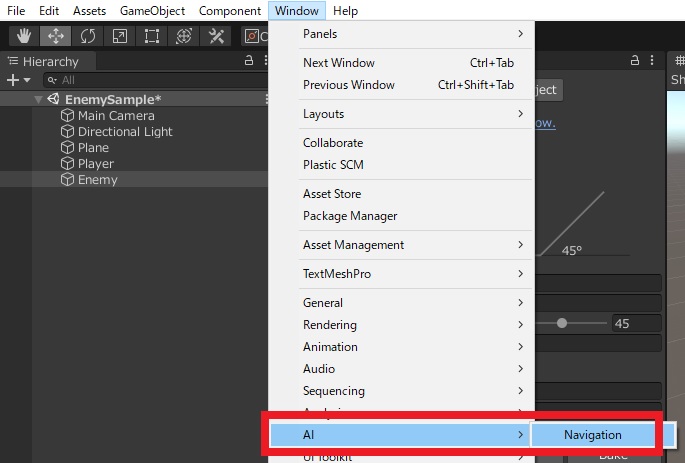
次にウィンドウから「AI」→「Navigation」を選択。
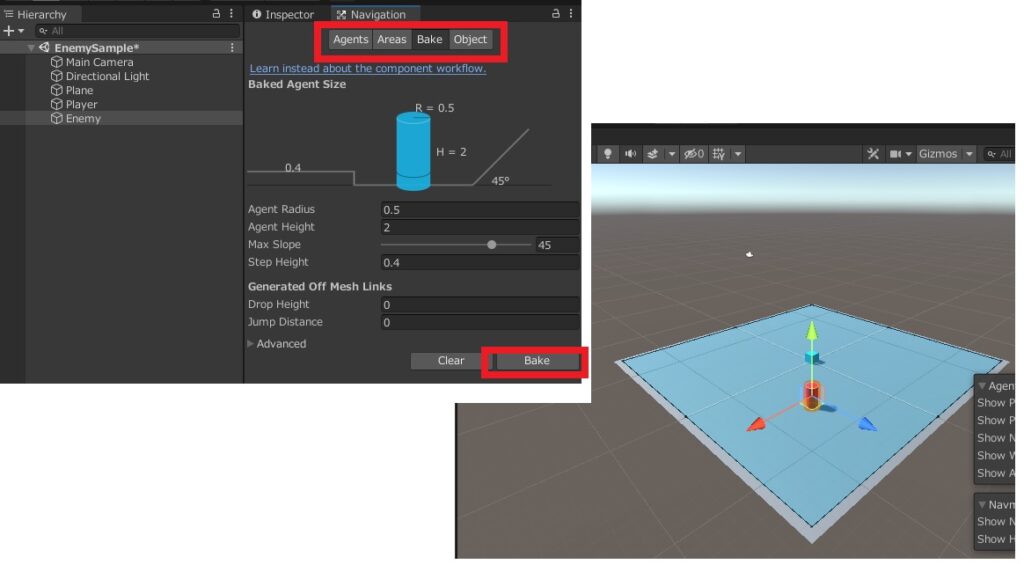
「Bake」を選ぶと、画面に水色部分が出てきます。これで移動できる範囲の設定が完了。
次にスクリプトを追加します。今回、敵キャラの目的地はプレイヤーなので、プレイヤーの位置を教えてあげます。
using System.Collections;
using System.Collections.Generic;
using UnityEngine;
using UnityEngine.AI;

public class EnemyMovement : MonoBehaviour
{
    [SerializeField] private Transform target;
    NavMeshAgent agent;

    void Start()
    {
        agent = GetComponent<NavMeshAgent>();
    }

    void Update()
    {
        agent.destination = target.position;
    }
}
ターゲット変数は、プレイヤーオブジェクトをセット、適当に動かしてみて追いかけてくれば完成。
参考にしたのは下記のドキュメント。

「プレイヤーが近づいた時だけ追いかける」スクリプトは下記の様な感じですかね。スピード部分は無しでも大きくは問題ないですが、セットした目的地までは動くのでイメージとしては最後にやや遅延する感じ。
using System.Collections;
using System.Collections.Generic;
using UnityEngine;
using UnityEngine.AI;

public class EnemyMovement : MonoBehaviour
{
    [SerializeField] private Transform target;
    NavMeshAgent agent;
    float moveSpeed;

    void Start()
    {
        agent = GetComponent<NavMeshAgent>();
        moveSpeed = agent.speed;
    }

    void Update()
    {
        if (Vector3.Distance(transform.position, target.position) < 5.0f)
        {
            agent.destination = target.position;
            agent.speed = moveSpeed;
        }
        else
        {
            agent.speed = 0;
        }
    }
}
Vector3.Distanceの不等号を逆にすると「一定の距離まで近づいてくる」感じに。
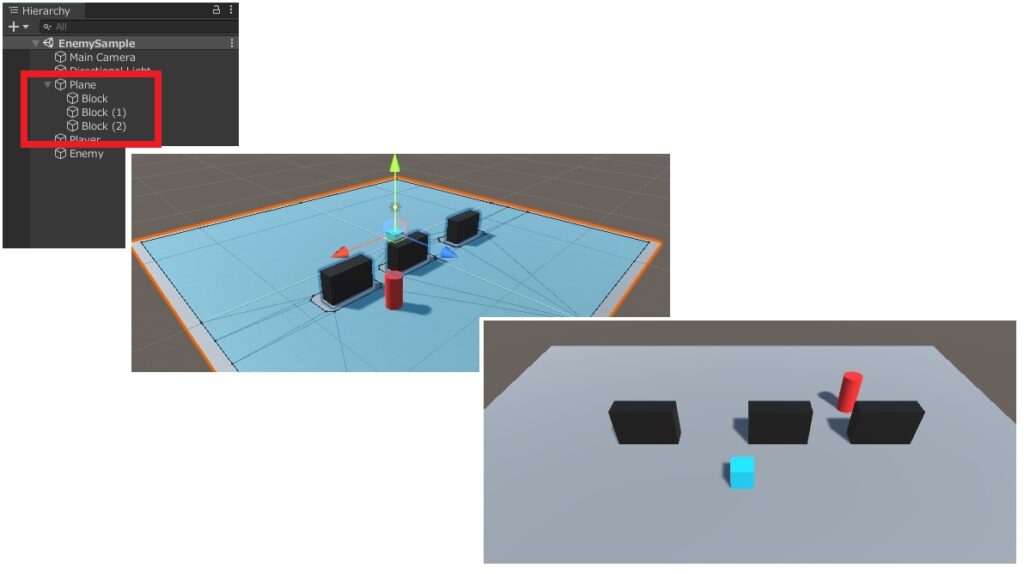
壁を作ってBakeし直すと壁をよけながら敵キャラが追いかけてくる感じになりますね。
今回は敵キャラの自動移動に使ってみましたが、「目的地にオブジェクトが自動で向かう」というのは様々な事に使えそう。