Unity2Dゲームで簡単なワープ機能を実装してみます。特定のオブジェクトに触れるとプレイヤーが移動する感じですね。
はじめに
Unityのバージョンは「2021.3.14f1」で作成しています。
2Dゲームで「プレイヤー(キャラクター)が特定のオブジェクト間を瞬間移動する」のを実装していきます。ポータルとかテレポートのようなイメージですね。
実装開始
簡単な画面作成→プレイヤー作成→ポータル作成の順番で実装していきます。
プレイヤーの作成
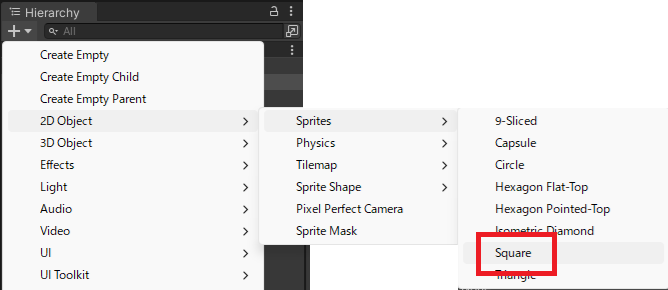
「2DObject」→「Sprites」→「Square」を追加します。
名前をPlayerに変更して、AddComponentから「Rigidbody2D」と「BoxCollider2D」を追加します。
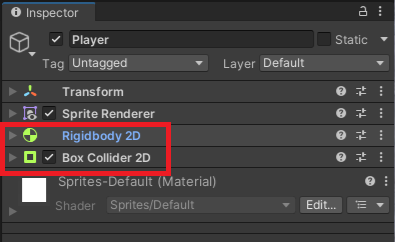
「Rigidbody2D」はGravityScaleを0にします。

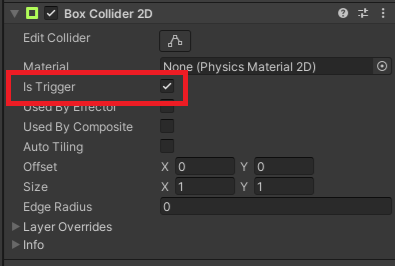
BoxCollider2DはisTriggerにチェックを入れます。
プレイヤー移動のスクリプト
下記スクリプトを作成してPlayerオブジェクトに追加します。キー入力で上下左右に移動します。
using UnityEngine;

public class Player : MonoBehaviour
{
    private float speed = 10.0f;
    private Rigidbody2D rb;
    private Vector2 movement;

    private void Awake()
    {
        rb = GetComponent<Rigidbody2D>();
    }
    void Update()
    {
        movement.x = Input.GetAxisRaw("Horizontal");
        movement.y = Input.GetAxisRaw("Vertical");
    }

    private void FixedUpdate()
    {
        rb.MovePosition(rb.position + movement.normalized * speed * Time.fixedDeltaTime);
    }
}
実行してみると下記のような感じに動きます。
ポータルの作成
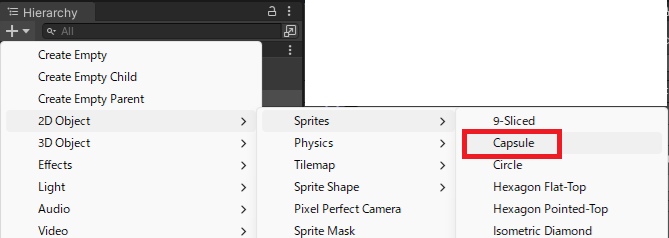
「2DObject」→「Sprites」→「Capsule」を2つ追加します。
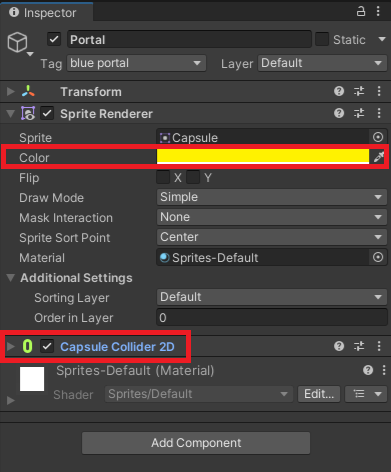
名前をPortalにして、色を変更。AddComponentからCapsuleCollider2Dを追加します。
コピーして色を変更しておきます。
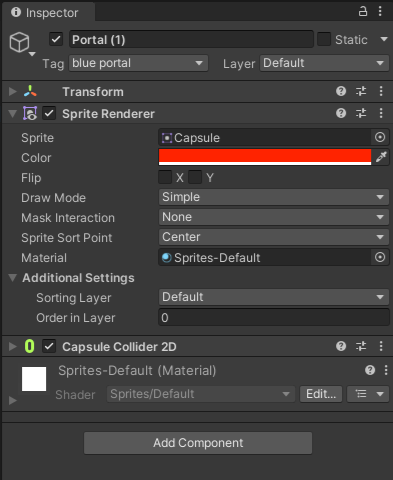
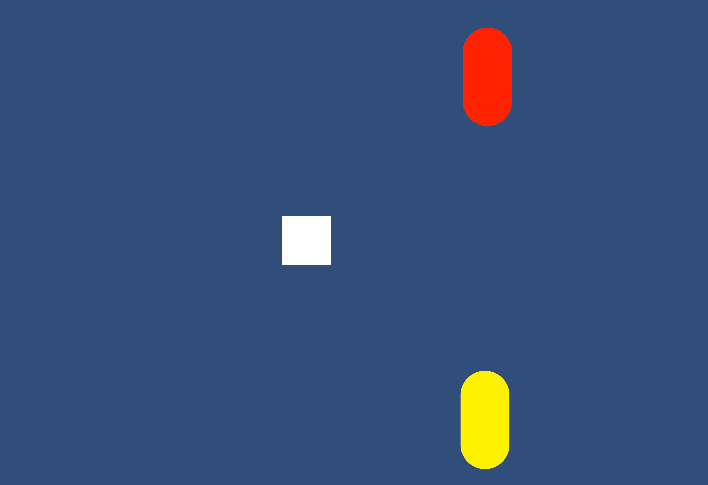
場所は適当に変更して下記のような画面にします。黄色と赤色の間を移動するようにしていきます。
ポータルスクリプトの作成
下記スクリプトを作成します。
using UnityEngine;

public class Portal : MonoBehaviour
{
    [SerializeField] private Transform destination;

    private float distance = 0.3f;

    private void OnTriggerEnter2D(Collider2D collision)
    {
        if (Vector2.Distance(transform.position, collision.transform.position) > distance)
            collision.transform.position = new Vector2(destination.position.x, destination.position.y);
    }
}
ポータルに触れたオブジェクトを指定した位置に移動します。
ポータルにスクリプトを追加して、移動先をセットします。

実行してみると下記のような感じに。黄色に触れると赤色に移動して、赤色に触れると黄色に移動します。
スクリプトの下記部分で距離が近すぎる場合は移動しないようにしています。理由はお互いにトリガーが発動して無限に行き来するからです。
if (Vector2.Distance(transform.position, collision.transform.position) > distance)
出入口が異なる場合
以前作成したパックマン風ゲームで利用する場合のパターンを実装してみます。左の緑色に入ると、右の赤色から出るような感じで、入口と出口が異なります。

この場合のスクリプトは下記になります。入口と出口が別々なので、距離のチェックは不要です。
using UnityEngine;

public class Portal : MonoBehaviour
{
    [SerializeField] private Transform destination;

    private void OnTriggerEnter2D(Collider2D collision)
    {
        collision.transform.position = new Vector2(destination.position.x, destination.position.y);
    }
}
移動先(出口)のパラメータをセットします。

実行してみると下記のような感じに。
