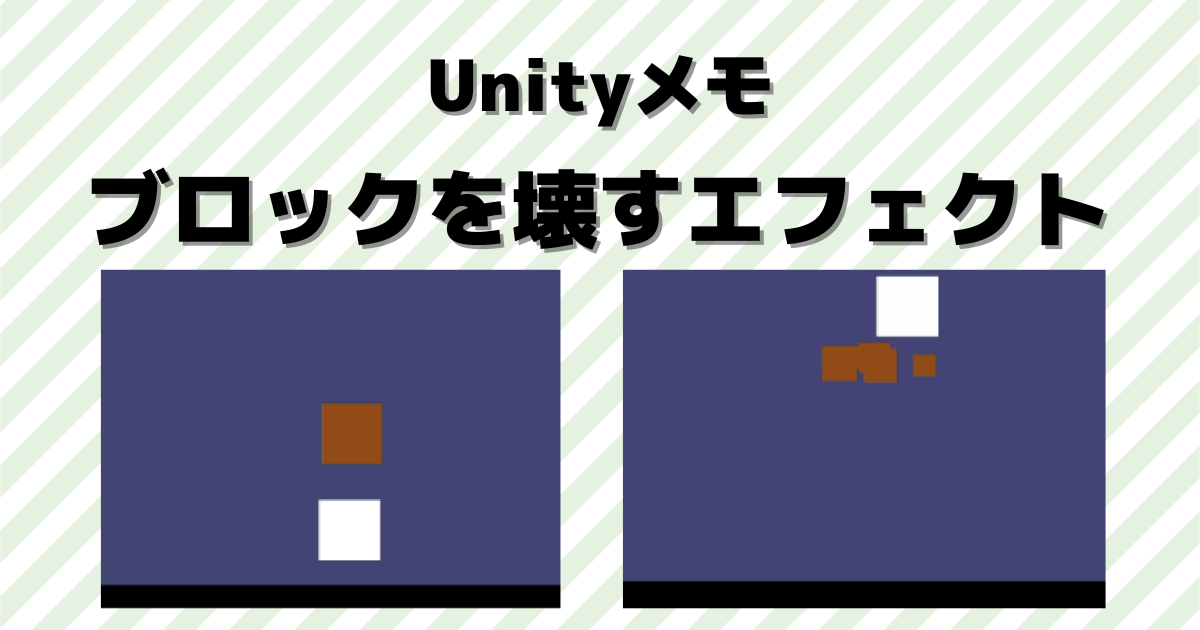
今回はUnity2Dゲームで「ブロックが壊れる(崩れる)エフェクト」を実装していきます。
アニメーションを利用する方法もありますが、ParticleSystemを利用してみます。
はじめに
Unityのバージョンは2021.3.14f1です。
ParticleSystemは下記の記事でも簡単に紹介しています。

実装開始
プレイヤーを作成後、ブロックを作成します。
地面とプレイヤーの作成
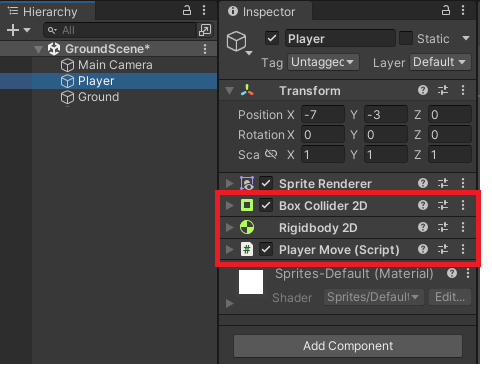
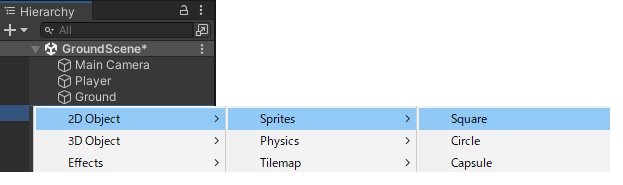
「2DObject」→「Sprites」→「Square」を2つ追加。
一つをPlayerにしてBoxCollider2D、Rigidbody2Dをアタッチ。PlayerMoveと言う名前でスクリプトもアタッチしておきます。
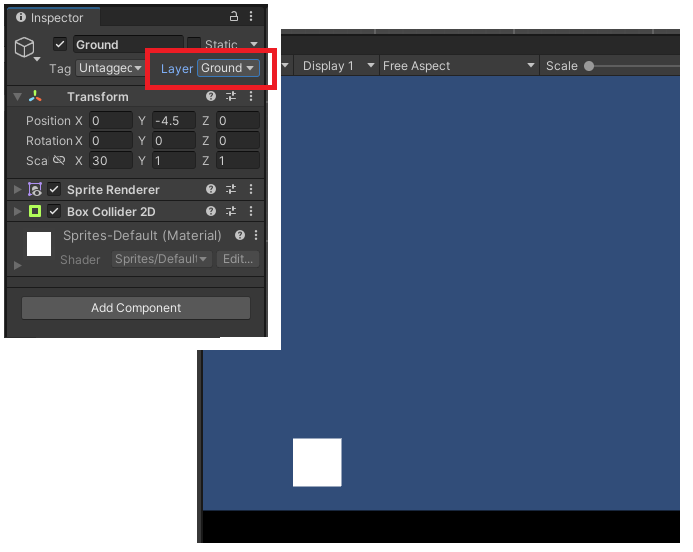
もう一つはGroundにしてLayerを変更、BoxCollider2Dをアタッチ。下記の様なゲーム画面にします。
スクリプトを下記に変更してプレイヤーを動くようにします。
using UnityEngine;

public class PlayerMove : MonoBehaviour
{
    [SerializeField] private LayerMask _groundLayer;

    private float _PlayerSpeed = 10.0f;
    private float _jumpPower = 10.0f;
    private Rigidbody2D _rb;

    void Start()
    {
        _rb = GetComponent<Rigidbody2D>();
    }

    void Update()
    {
        float InputX = Input.GetAxisRaw("Horizontal");

        if (Input.GetKey(KeyCode.Space) && isGrounded())
            _rb.velocity = new Vector2(_rb.velocity.x, _jumpPower);

        _rb.velocity = new Vector2(InputX * _PlayerSpeed, _rb.velocity.y);
    }

    private bool isGrounded()
    {
        RaycastHit2D raycastHit = Physics2D.Raycast(transform.position, Vector2.down, 0.6f,
         _groundLayer);
        return raycastHit.collider != null;
    }
}
PlayerMoveスクリプトのパラメータをセット。
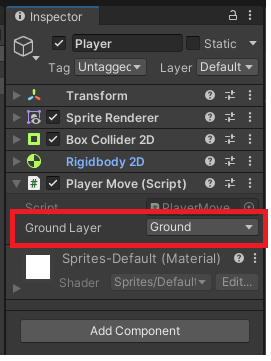
実行すると下記の様に左右に動き、スペースキーでジャンプできます。
この地面とプレイヤー部分は下記記事に詳しく書いてあります。
ブロックの作成
「2DObject」→「Sprites」→「Square」を追加。
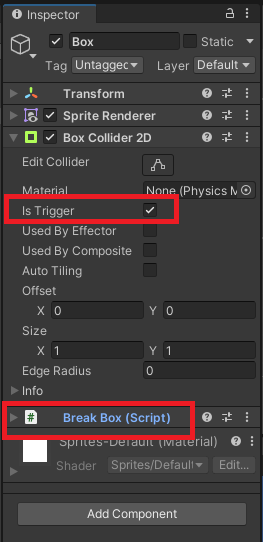
名前をBoxにして、位置と色を変更しておきます。
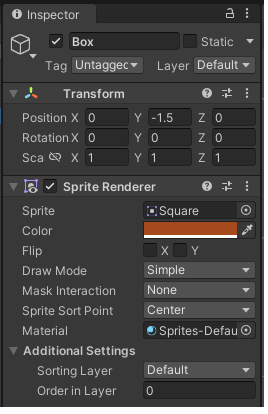
BoxCollider2DをアタッチしisTriggerにチェック、BreakBoxと言う名前でスクリプトをアタッチします。
スクリプトを下記に変更。
using UnityEngine;

public class BreakBox : MonoBehaviour
{
    private void OnTriggerEnter2D(Collider2D col)
    {
        Destroy(gameObject);
    }
}
実行すると、下記の様にぶつかるとブロックが消えます。
これに破壊したようなエフェクトを追加してみます。
Particle System
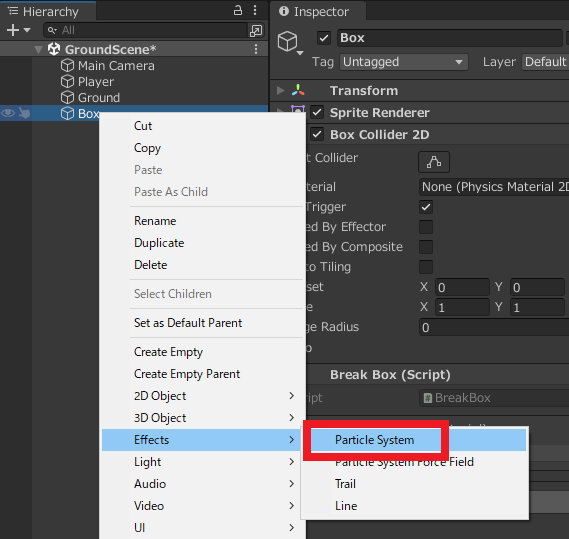
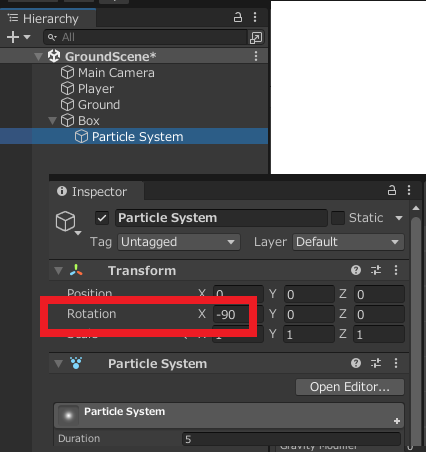
Boxの配下に「Effects」→「Particle System」を追加。
上向きにエフェクトを出すので、RotationのXを-90にします。
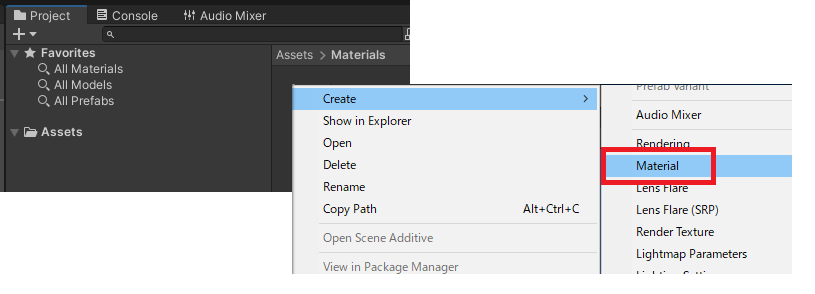
Projectフォルダ内にMaterialを新規で作成。
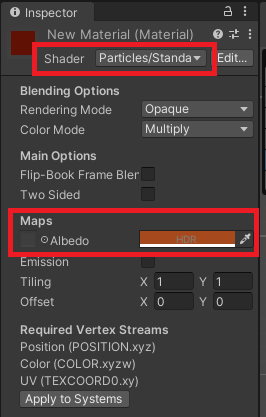
ShaderをParticlesにして、ブロックと同じ色に変更します。
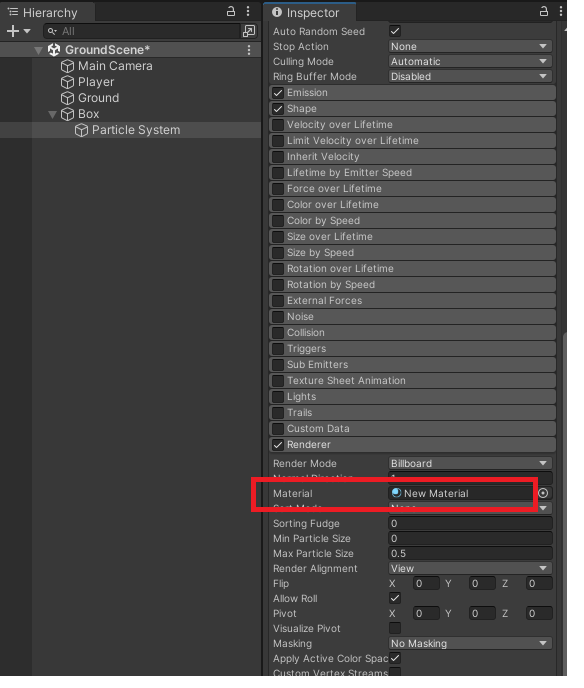
Particle SystemのRendererのMaterialを作成したマテリアルに変更。
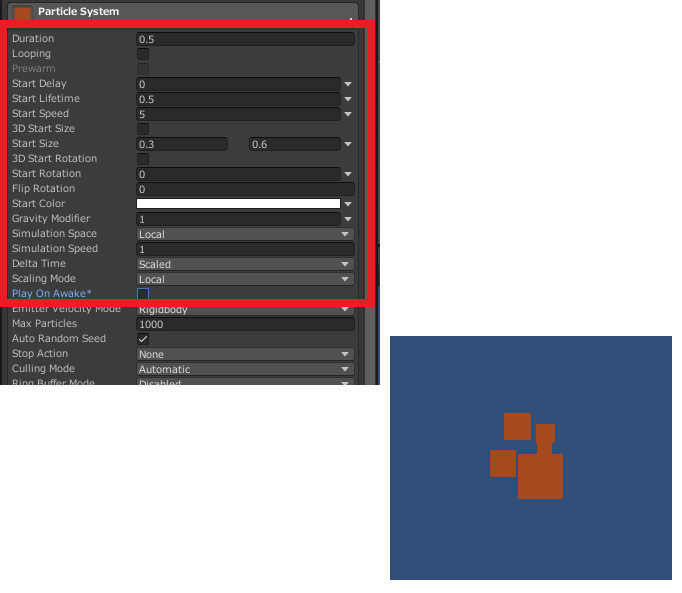
ParticleSystemのDuration、StartLifetime、StartSize、GravityModifierなどを変更して壊れて広がる感じにします。
スクリプトを下記に変更。
using System.Collections;
using UnityEngine;

public class BreakBox : MonoBehaviour
{
    [SerializeField] ParticleSystem _particle;
    private SpriteRenderer _rend;

    private void Awake()
    {
        _rend = GetComponent<SpriteRenderer>();
    }
    private void OnTriggerEnter2D(Collider2D col)
    {
       StartCoroutine(BoxDest());
    }

    private IEnumerator BoxDest()
    {
        _rend.enabled = false;
        _particle.Play();
        yield return new WaitForSeconds(_particle.main.startLifetime.constantMax);
        Destroy(gameObject);
    }
}
下記の様な感じになります。
この方法が最適かどうかは少し疑問ですが、こんな方法もあるって感じですね。箱を壊すだけでなく、Particle Systemは結構いろんなことに使えそうな感じですな。