
今回は、Unityでボタンや画像などのオブジェクトを等間隔に自動で並べるメモです。「LayoutGroup」を利用していきます。
はじめに
Unityのバージョンは2021.3.14f1です。自動レイアウトを利用してボタンの整列を簡単に実装してみます。

実装開始
Unityではボタンや画像などを簡単に並べることが出来るので実装していきます。
ボタンを配置(縦並び)
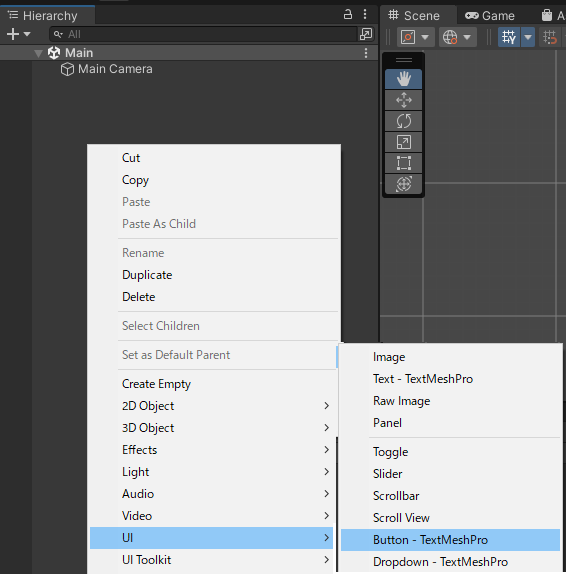
まずは「UI」→「Button」でボタンを追加、ボタンじゃなくてImageでもOK。
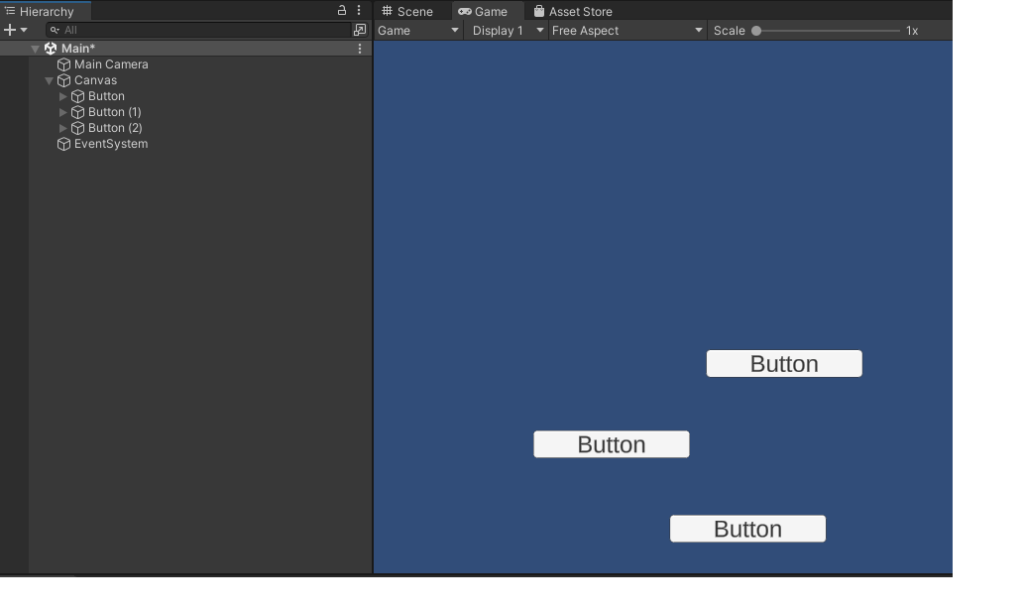
とりあえず適当に3つほど作ります。位置はあえて適当な場所にしています。これを整列してみます。
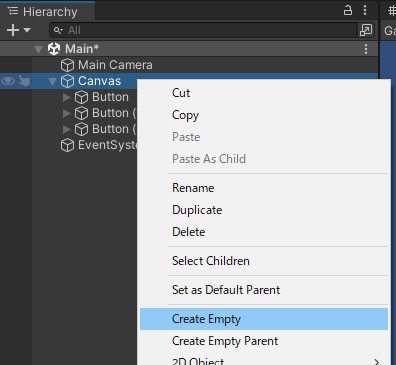
まずはCanvasの配下に「CreateEmpty」で空のオブジェクトを追加。名前を「BtnGroup」にします。
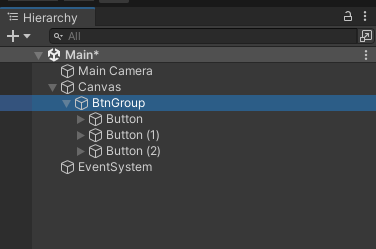
下図のようにボタンを全て配下に移動します。
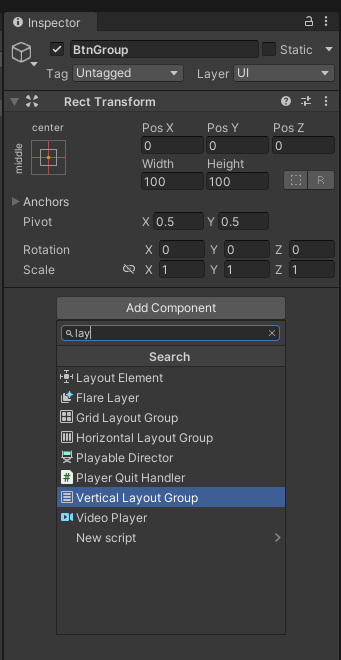
ボタンを縦並びにするので、BtnGroupに「AddComponent」から「Vertical Layout Group」を追加。
下記のように自動で均等に並びます。サイズやプロパティを変更することでボタンの大きさも変わります。
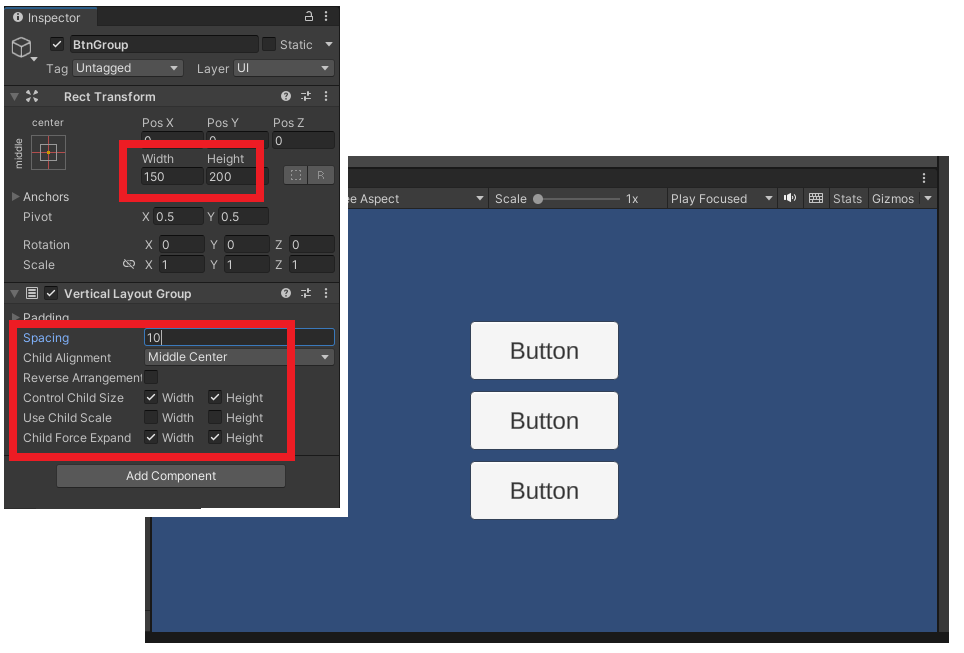
さらにボタンを追加すると等間隔に自動で整列していきます。
スクリプトでボタンを有効にしてみる
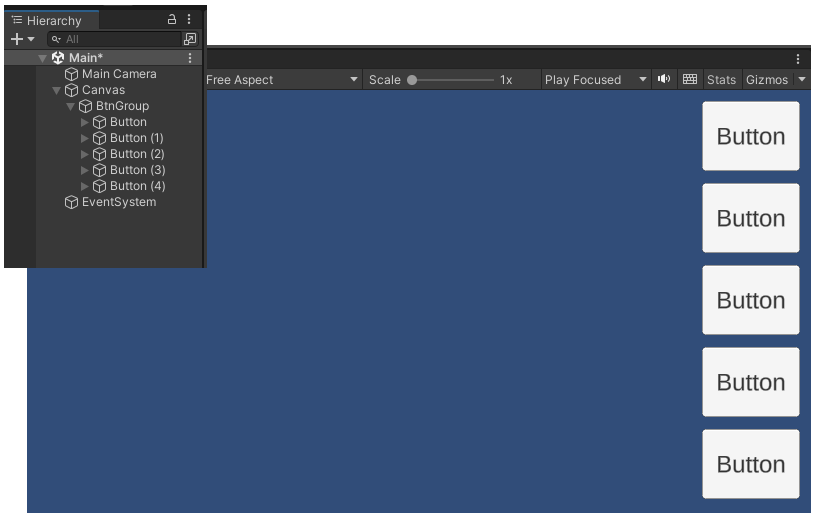
次に、スクリプトでボタンを有効にしてみます。まずは、下記のようにボタンを並べます。
スクリプトを作成し、中身を下記のようにします。
using UnityEngine;

public class BtnGroup : MonoBehaviour
{
    [SerializeField] private GameObject _btn;

    public void BtnClick()
    {
        _btn.SetActive(true);
    }
}
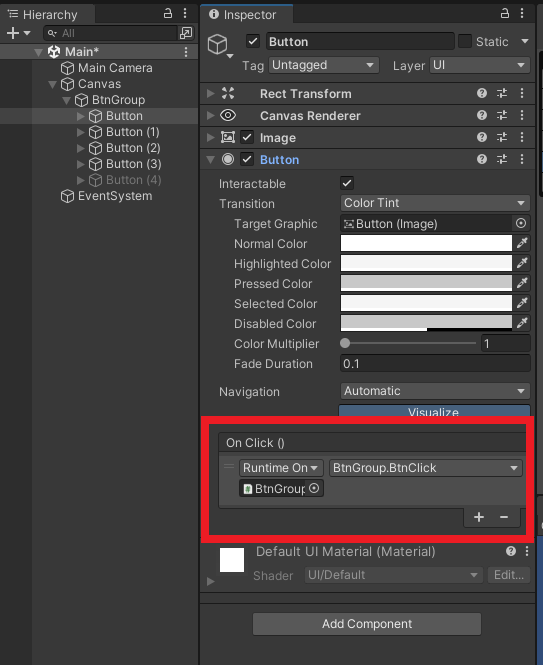
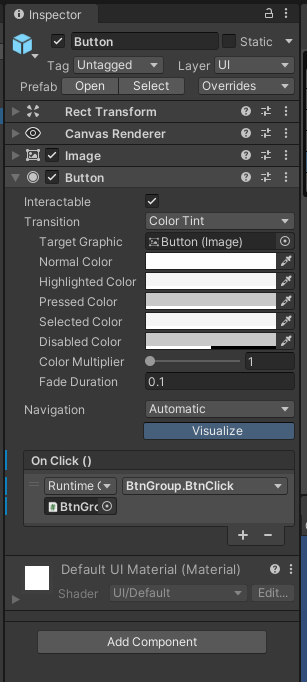
BtnGroupにスクリプトをアタッチしてパラメータをセット。
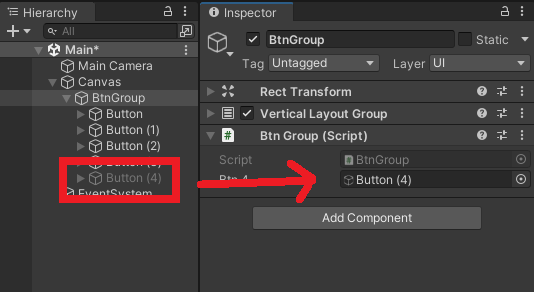
下記のようにすると、クリックでボタンが有効になり自動で整列してくれます。
ボタン配置(横並び)
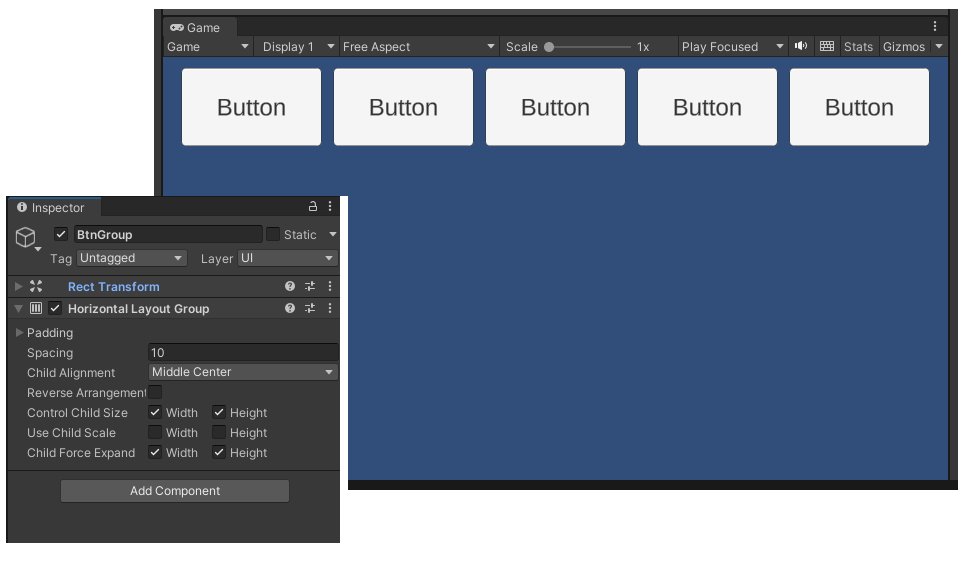
次は横並びを実装してみます。「AddComponent」から「HorizontalLayoutGroup」を追加。
プレハブ化してスクリプトでボタンを生成
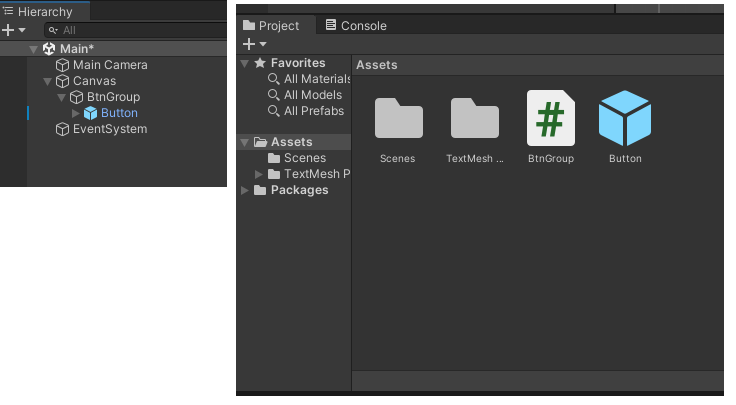
ボタンをプレハブ化して一つだけ残します。
スクリプトの中身を下記に変更。
using UnityEngine;

public class BtnGroup : MonoBehaviour
{
    [SerializeField] private GameObject _btnPrefab;
    [SerializeField] private Transform _Parent;

    public void BtnClick()
    {
        Instantiate(_btnPrefab, _Parent);
    }
}
下記のようにパラメータをセット。
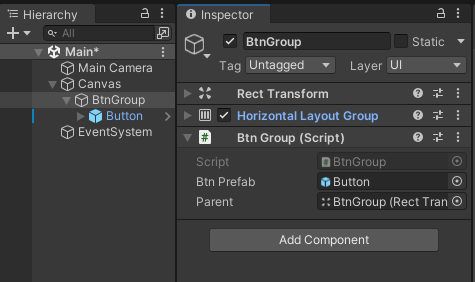
実行すると、下記のようにクリックでボタンを増やすたびに自動で整列します。
ボタン配置(縦横並び)
縦横で並べたい場合は「GridLayoutGroup」。CellSizeやSpacing調整すると、下記のように配置するのも簡単。
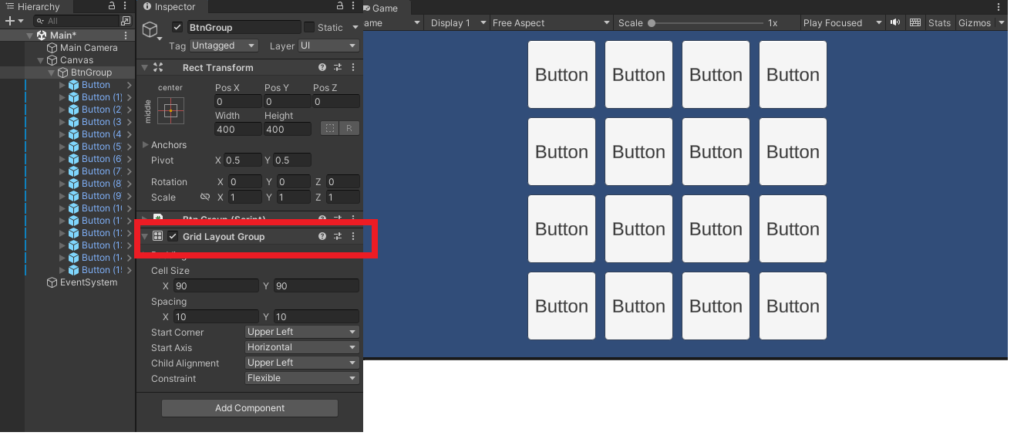
今回は例としてボタンだけど、画像とかでも同じように可能。