Unityで雪を降らせてみます。「ParticleSystem」を利用して簡単に実装していきます。雪以外にも雨を降らせるのも似た感じで実装することが出来ます。
はじめに
「Unity 2022.3.14f1」ヴァージョンで作成しています。
ParticleSystemを使って簡単に雪が降ってるようなエフェクトを実装してみます。
実装開始
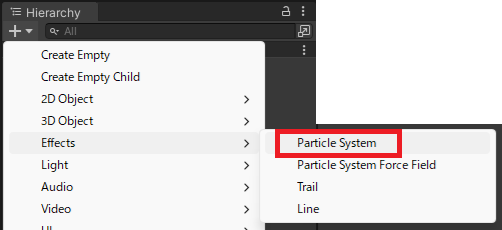
ヒエラルキーメニューで「Effects」→「Particle System」を追加します。
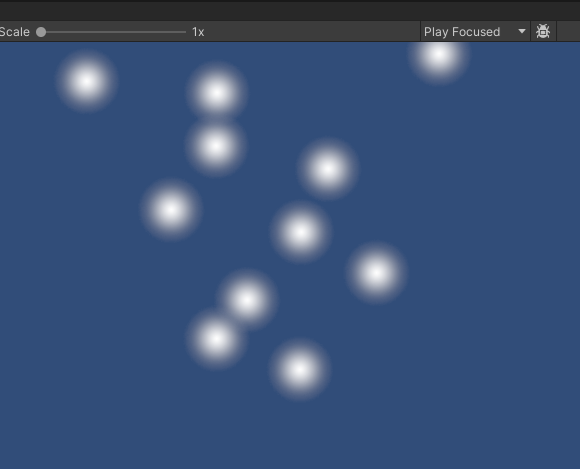
追加した初期状態だと、粒子っぽいものが上昇しています。
まずはStartColorを「Random Between Two Colors」を選択します。
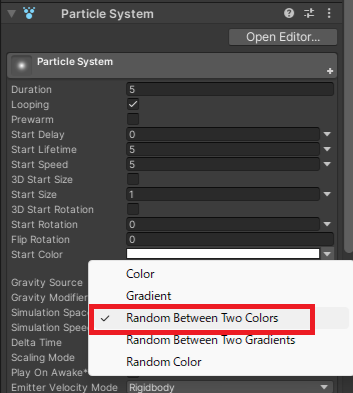
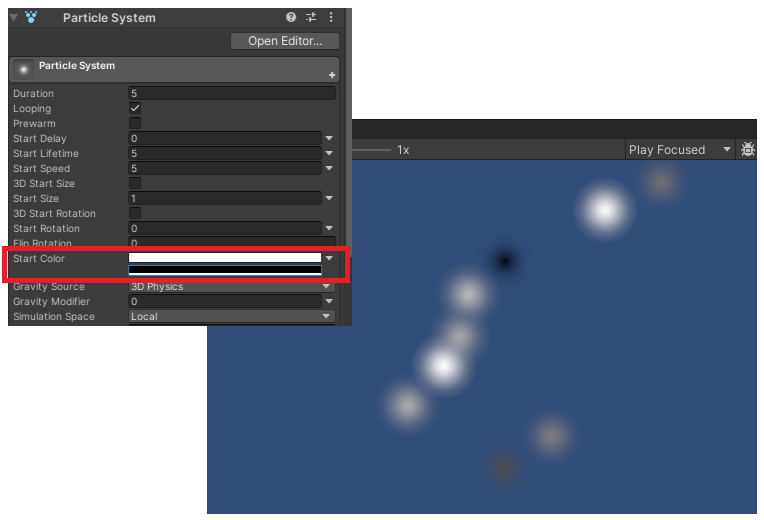
色を白色と黒色にします。すると、白色と黒色の間のランダムな色で生成されます。
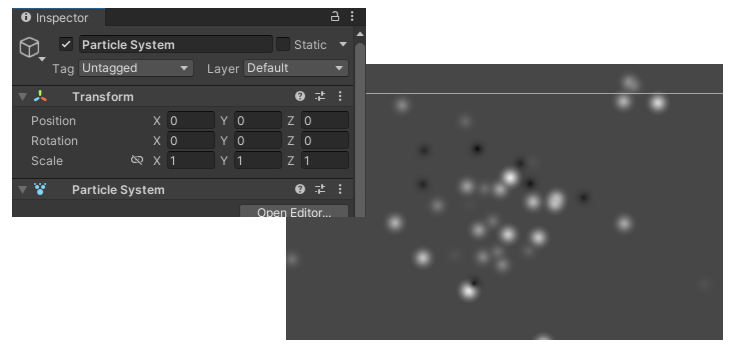
Transformをリセットすると中心から全体に広がるように粒子が発射されます。
雪っぽいエフェクトにしていく
「StartColor」を白と灰色っぽい色にします。
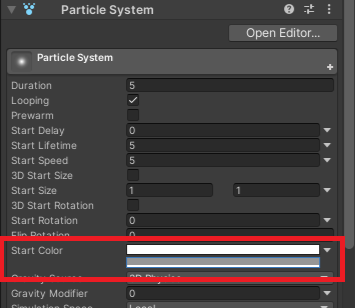
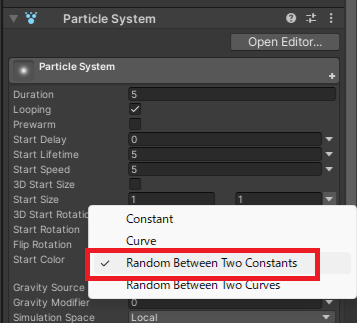
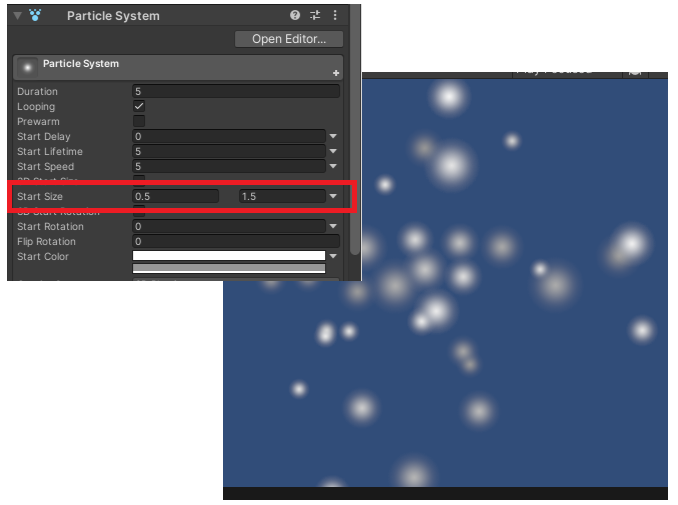
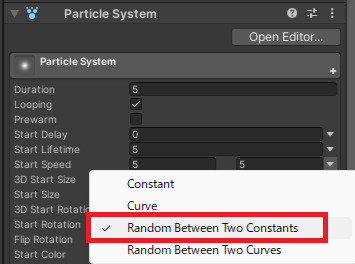
「StartSize」は「Random Between Two Constants」を選び、適当な範囲になるように変更(ここでは0.5と1.5を指定)
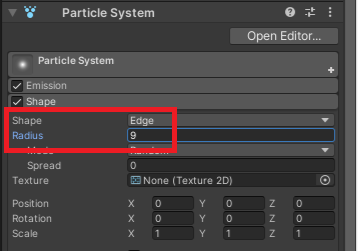
「Shape」を「Edge」にして、Radiusを画面の横幅に合わせ増やします。
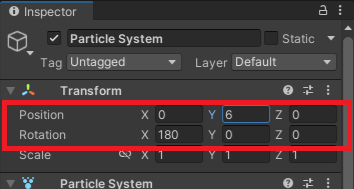
X軸を180度回転して、表示位置を上に移動します。
実行すると下記のような感じに。
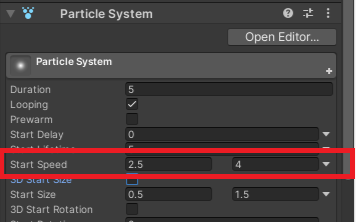
落ちるスピードにバラツキを持たせるので、「StartSpeed」を変更。「Random Between Two Constants」を選択して、適当な範囲になるように変更(ここでは2.5と4を指定)
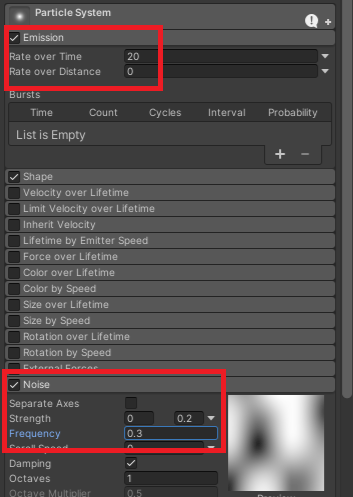
少し揺らぎながら落下させたいので、「Emission」と「Noise」を設定します。
実行すると下記の様な感じに。先ほどよりは雪感が出ています。
スクリプトで調整
降ってる雪を止める場合、下記の様な感じのスクリプトです。「SnowStop()」で雪が止まります。
using UnityEngine;

public class EffectSample : MonoBehaviour
{
    private ParticleSystem _particle;

    void Start()
    {
        _particle = GetComponent<ParticleSystem>();
    }

    public void SnowStop()
    {
        _particle.Stop();
    }
}
降るスピードや量を時間経過やタイミングで調整する場合は、下記の様な感じでstartSpeedやrateOverTimeを変更。
using UnityEngine;

public class EffectSample : MonoBehaviour
{
    private ParticleSystem _particle;

    void Start()
    {
        _particle = GetComponent<ParticleSystem>();
    }

    public void ChangeSnow(float minSpeed,float maxSpeed,float rate)
    {
        var main = _particle.main;
        var em = _particle.emission;

        main.startSpeed = new ParticleSystem.MinMaxCurve(minSpeed, maxSpeed);
        em.rateOverTime = rate;
    }
}
同じく「ParticleSystem」を利用して、ブロックを壊すエフェクトを下記で実装しています。