今回はUnity2Dゲームで壁を作成していきます。固定で作成、スクリプトで作成、画面サイズに合わせて自動で作成。の3つを見ていきます。
はじめに
Unityのバージョンは2022.3.14f1です。(あまりバージョンは関係ないですが)
下記の続きとして作成していきますが、ゼロから作成でも問題ないです。あくまでも壁として機能しているのを確認するため、下記の続きとして作成しています。

作成開始
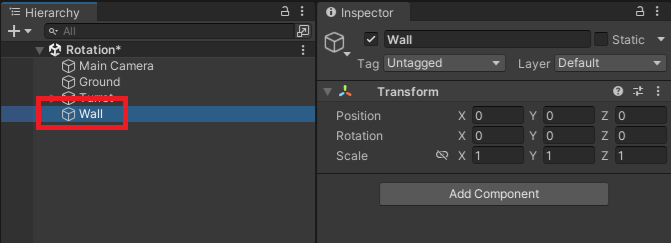
まずは「空オブジェクト」を追加、名前をWallとします。
「Line Renderer」を追加して、サイズや幅、マテリアルなどを変更して枠を作成します。
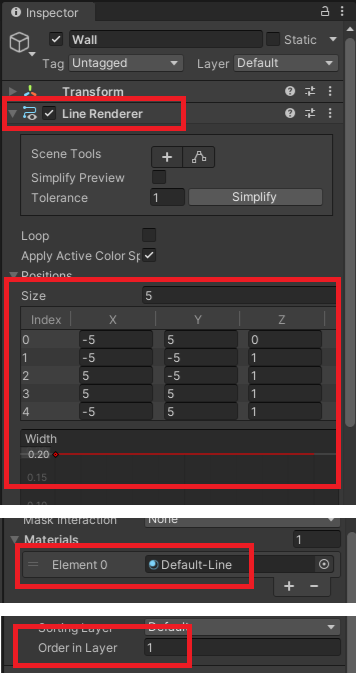
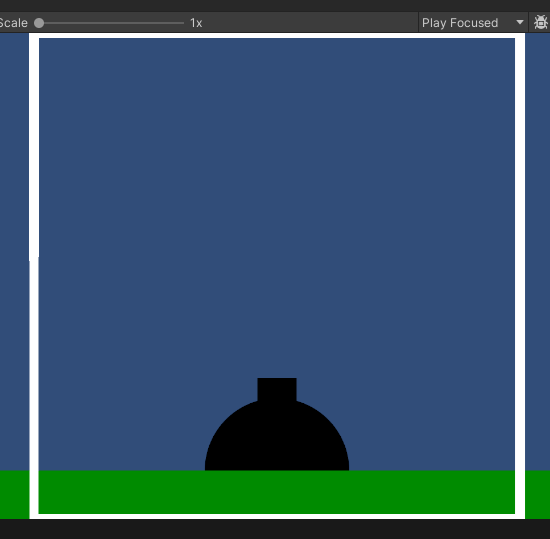
下記のように白い枠が出来ればOKです。
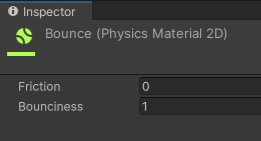
Projectフォルダ内に「2D」→「PhysicsMaterial 2D」を追加します。

名前をBounceに変更して、Bouncinessを1にします。
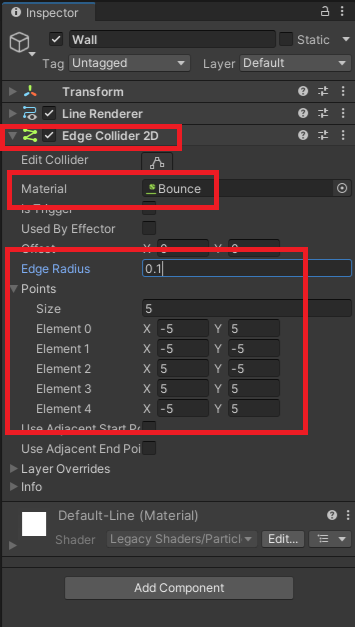
Wallに「EdgeCollider2D」を追加して、マテリアル、ポイントを変更します。
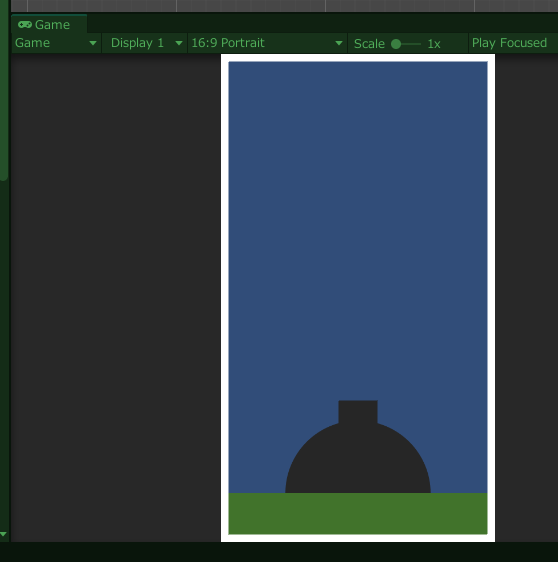
試しに動かしてみると下記の様な感じに。
スクリプトで作成
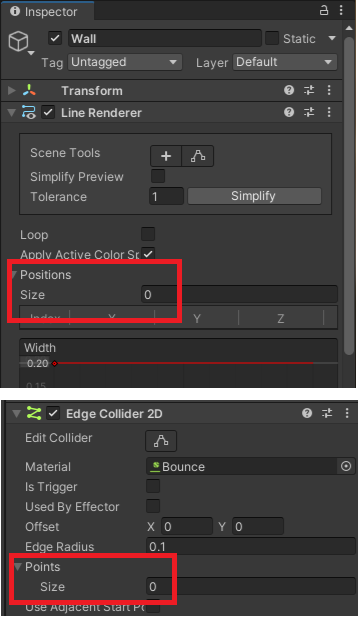
次にスクリプトで同じ壁を作成してみます。先ほどセットしたサイズをリセットしておきます。
下記のスクリプトを作成します。
using UnityEngine;

public class WallCreate : MonoBehaviour
{
    [SerializeField] private LineRenderer _lineRender;
    [SerializeField] private EdgeCollider2D _edgeCollider;
    [SerializeField] private Vector3 _leftTop, _leftBottom, _rightTop, _rightBottom;

    private void Awake()
    {
        Vector3[] linePositions = new Vector3[]
            { _leftTop, _leftBottom, _rightBottom, _rightTop, _leftTop };
        _lineRender.positionCount = linePositions.Length;
        _lineRender.SetPositions(linePositions);

        Vector2[] colliderPoints = new Vector2[5];

        colliderPoints[0] = new Vector2(_leftTop.x,_leftTop.y);
        colliderPoints[1] = new Vector2(_leftBottom.x,_leftBottom.y);
        colliderPoints[2] = new Vector2(_rightBottom.x,_rightBottom.y);
        colliderPoints[3] = new Vector2(_rightTop.x,_rightTop.y);
        colliderPoints[4] = new Vector2(_leftTop.x, _leftTop.y);

        _edgeCollider.points = colliderPoints;
    }
}
Wallオブジェクトにスクリプトをアタッチして、パラメータをセットします。
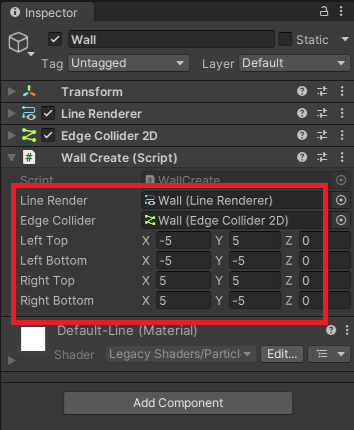
実行すると、同じような壁が作成されます。パラメータの値を変更すると壁の位置を簡単に変更することができます。
画面サイズに合わせて壁を作成
次に画面枠のサイズに合わせて、自動でサイズが変わる壁を作成してみます。
スクリプトを下記に変更します。
using UnityEngine;

public class WallCreate : MonoBehaviour
{
    [SerializeField] private LineRenderer _lineRender;
    [SerializeField] private EdgeCollider2D _edgeCollider;

    private void Awake()
    {
        Vector3 LeftTop = Camera.main.ScreenToWorldPoint(new Vector3(0, Screen.height, 0));
        Vector3 LeftBottom = Camera.main.ScreenToWorldPoint(new Vector3(0, 0, 0));
        Vector3 RightBottom = Camera.main.ScreenToWorldPoint(new Vector3(Screen.width, 0, 0));
        Vector3 RightTop = Camera.main.ScreenToWorldPoint(new Vector3(Screen.width, Screen.height, 0));
        LeftTop.z = LeftBottom.z = RightBottom.z = RightTop.z = 0;

        Vector3[] linePositions = new Vector3[]
            { LeftTop, LeftBottom, RightBottom, RightTop, LeftTop };
        _lineRender.positionCount = linePositions.Length;
        _lineRender.SetPositions(linePositions);


        Vector2[] colliderPoints = new Vector2[5];

        colliderPoints[0] = new Vector2(LeftTop.x, LeftTop.y);
        colliderPoints[1] = new Vector2(LeftBottom.x, LeftBottom.y);
        colliderPoints[2] = new Vector2(RightBottom.x, RightBottom.y);
        colliderPoints[3] = new Vector2(RightTop.x, RightTop.y);
        colliderPoints[4] = new Vector2(LeftTop.x, LeftTop.y);

        _edgeCollider.points = colliderPoints;
    }
}
画面サイズに沿って壁が作成されます。